How to Choose the Right ADU Design for Your Bay Area Property
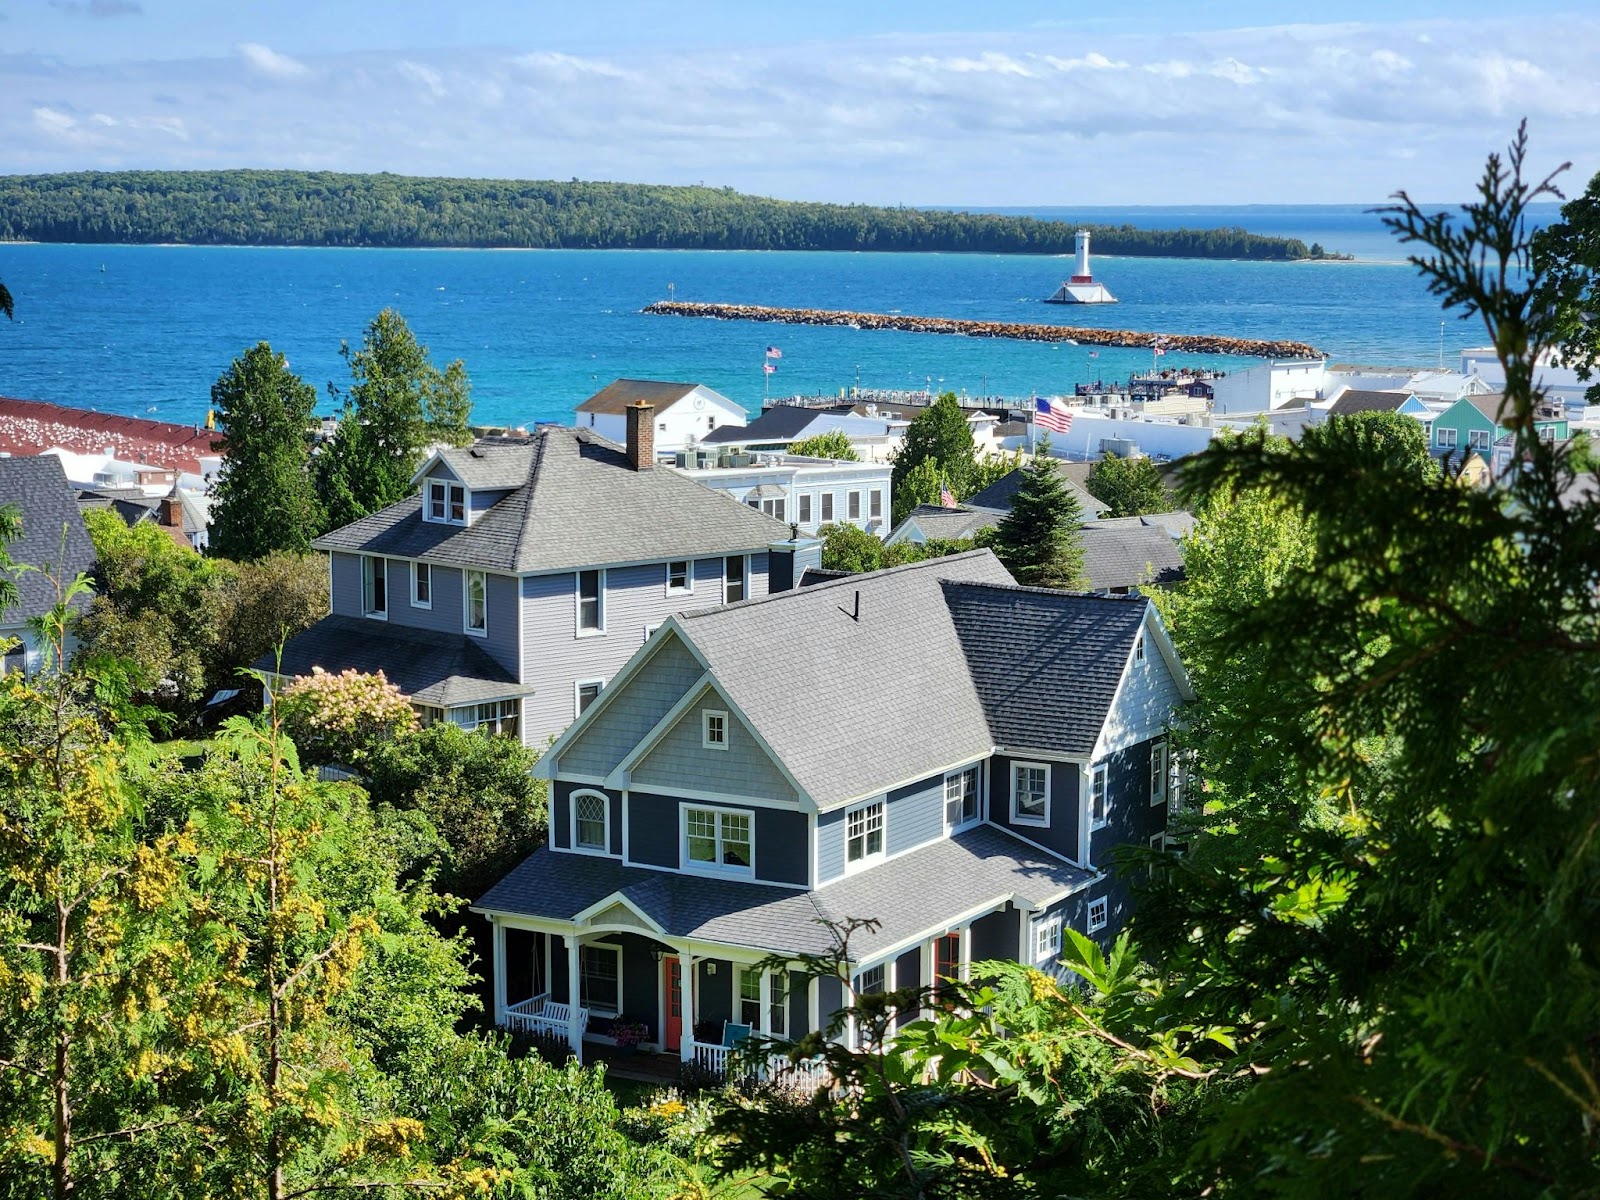
Building an Accessory Dwelling Unit (ADU) in the Bay Area is a smart way to create new living space, increase property value, or generate steady rental income. But with steep topography, tight urban lots, and evolving city-specific codes, choosing the right ADU design takes more than inspiration. You need a design that works with your lot’s unique constraints and complies with local zoning laws in areas like Oakland, Marin, or San Jose.
Whether you're planning a detached unit in your backyard or a garage conversion, this guide will help you evaluate the layout, access, light, and privacy needs essential to successful Bay Area ADU design. Avoid costly missteps by considering both the architectural and regulatory demands from the start.
Ready to build an ADU that fits your Bay Area property like a glove? Don’t rely on guesswork or one-size-fits-all templates. Instead, connect with professionals who understand regional challenges and permitting nuances. GatherADU’s Bay Area Design Team specializes in creating site-specific ADUs that align with both your goals and the law. Schedule your free consultation
Understand Your Property’s Limitations Before You Plan
Before diving into design details, it’s essential to evaluate your lot’s unique characteristics. In the Bay Area, factors like tight lot sizes, hillside terrain, or limited access can restrict what type of ADU is feasible. By understanding these constraints upfront, you’ll avoid major setbacks later in the process. Starting with a clear picture of what’s possible helps you create realistic plans and speeds up the permitting process.
Step 1: Know What Type of ADU Works on Your Lot
Before you draft floor plans or pick finishes, assess your property’s layout. Bay Area homes often have limitations like narrow lots, steep slopes, or shared driveways. These constraints directly affect what kind of ADU you can build and where. Skipping this step can lead to delays, redesigns, or costly surprises during permitting. A well-informed start ensures a smoother process from concept to construction.
Common Bay Area site challenges:
- Narrow SF lots: Often restrict detached units; consider interior or upper-level conversions.
- Berkeley/Oakland slopes: Require grading and may trigger stricter structural codes.
- Palo Alto shared driveways: Limit access and must meet fire lane clearance rules.
ADU options that suit different properties:
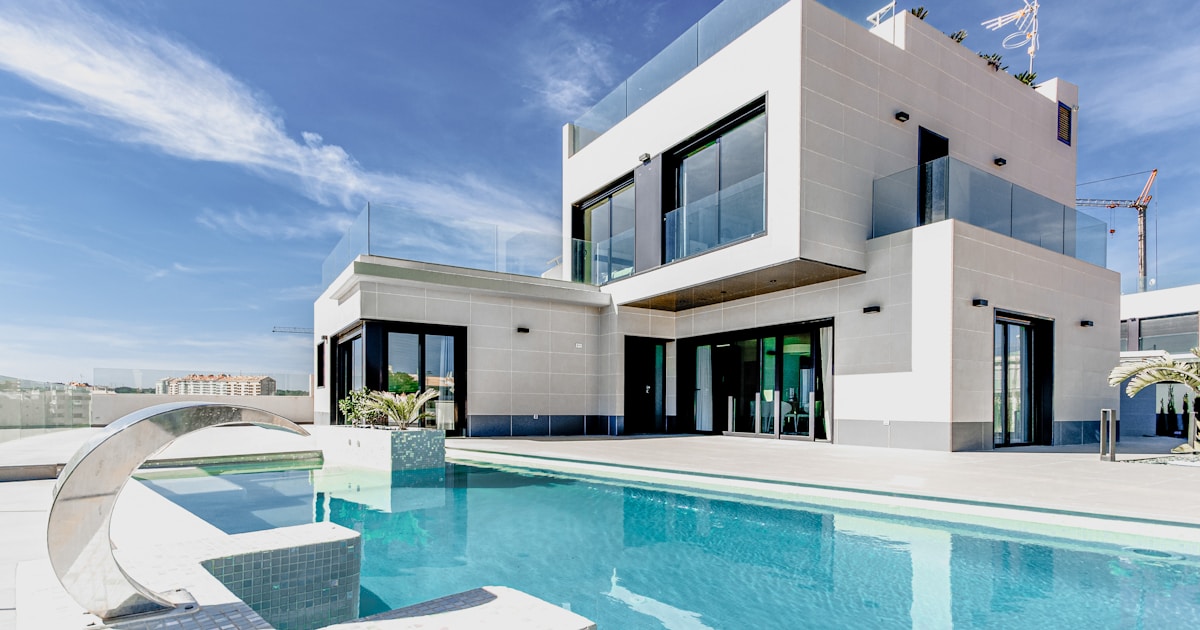
- Detached ADU: Best for large yards; higher build cost but most privacy.
- Attached ADU: Shares a wall with the main home; useful on tight lots.
- Garage Conversion: A low-cost choice if the structure meets code.
- Basement/Interior Conversion: Great for underused space, but may need lighting and egress upgrades.
Pro tip: Use San Mateo County’s ADU portal to explore regional guidelines, then consult a local contractor for a tailored site assessment.

Step 2: Consider Local ADU Regulations and Design Requirements
Understanding the local landscape is essential when designing your ADU. Each Bay Area city has unique zoning rules that can make or break your project. Rules around lot coverage, height limits, and daylight planes vary significantly. Ignoring these can lead to delays, added costs, or outright rejection during permitting. Partnering with a knowledgeable designer familiar with your city’s planning department and regulations ensures your ADU meets both state law and local ordinances from day one.
City-by-city zoning nuances:
- The San Francisco Planning Department limits backyard coverage, enforces strict lot‑line setbacks, and occasionally restricts ADU size to 800 sq ft or less.
- Under San Jose ADU Guidelines, some parcels may host two ADUs on a single lot when zoning permits.
- According to the Oakland city’s ADU regulations, height limits are relaxed, but daylight-plane setbacks and minimum 4-foot side/rear setbacks still apply.
Choose ADU designers who have:
- Deep expertise with state-adopted SB9/SB13 and local amendments
- Proven track record with your specific city’s planning staff
- Strong knowledge of setbacks, height, lot coverage, and ADU size limits in your jurisdiction
Tip: Ask designers how many ADUs they’ve successfully permitted in your city over the past year local experience matters most.
Step 3: Align the Design with Your Primary Goal
Your ADU’s design should reflect its intended use. Whether you're planning to rent it out, house family, or create a focused work zone, your goal influences everything from layout to finishes. Aligning your design with your purpose ensures comfort, utility, and long-term value. Thoughtful planning now means fewer compromises later.
- Include private entrances, durable materials, and sound insulation for tenant-ready rentals.
- Use step-free access, wider doors, and open floor plans to support multigenerational living.
- Focus on ceiling height, natural light, and layout flexibility for studios or workspaces.
Check out our ADU Floor Plans to explore layouts designed around your goals from compact studios to multi-room units with smart storage and flow
.
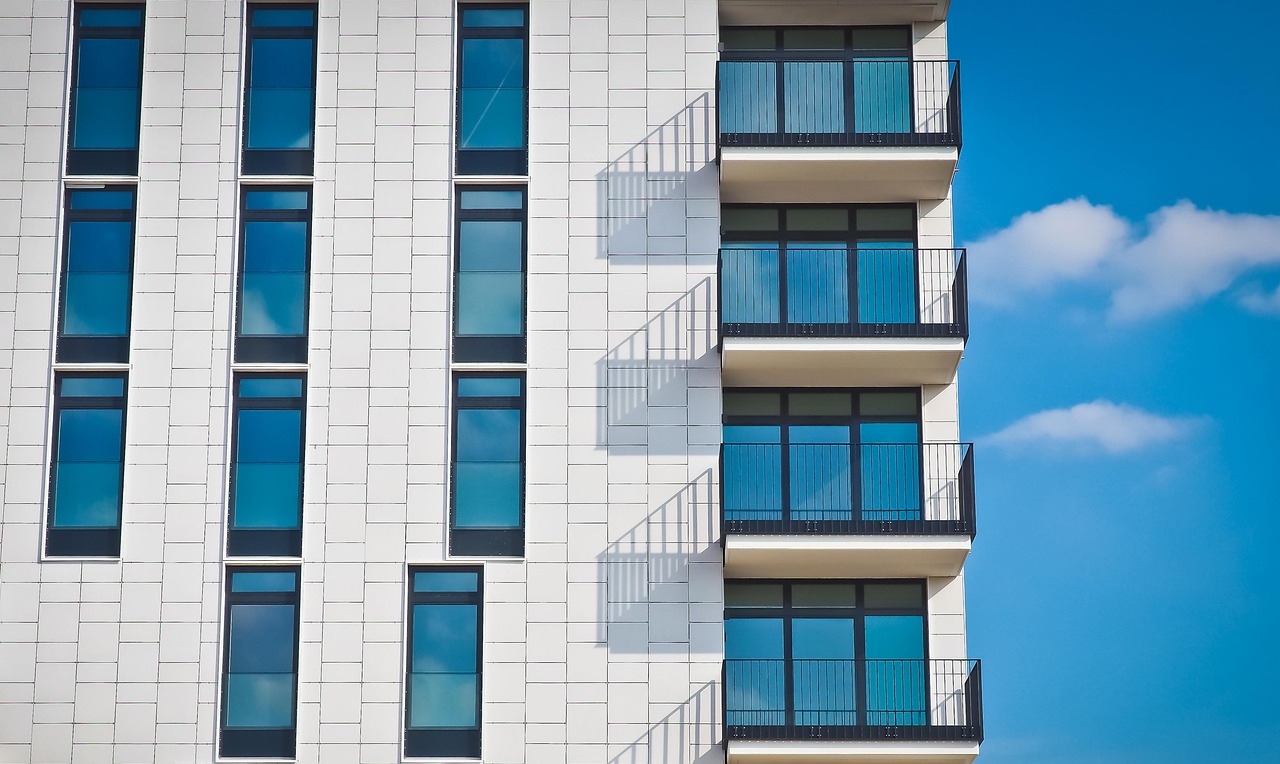
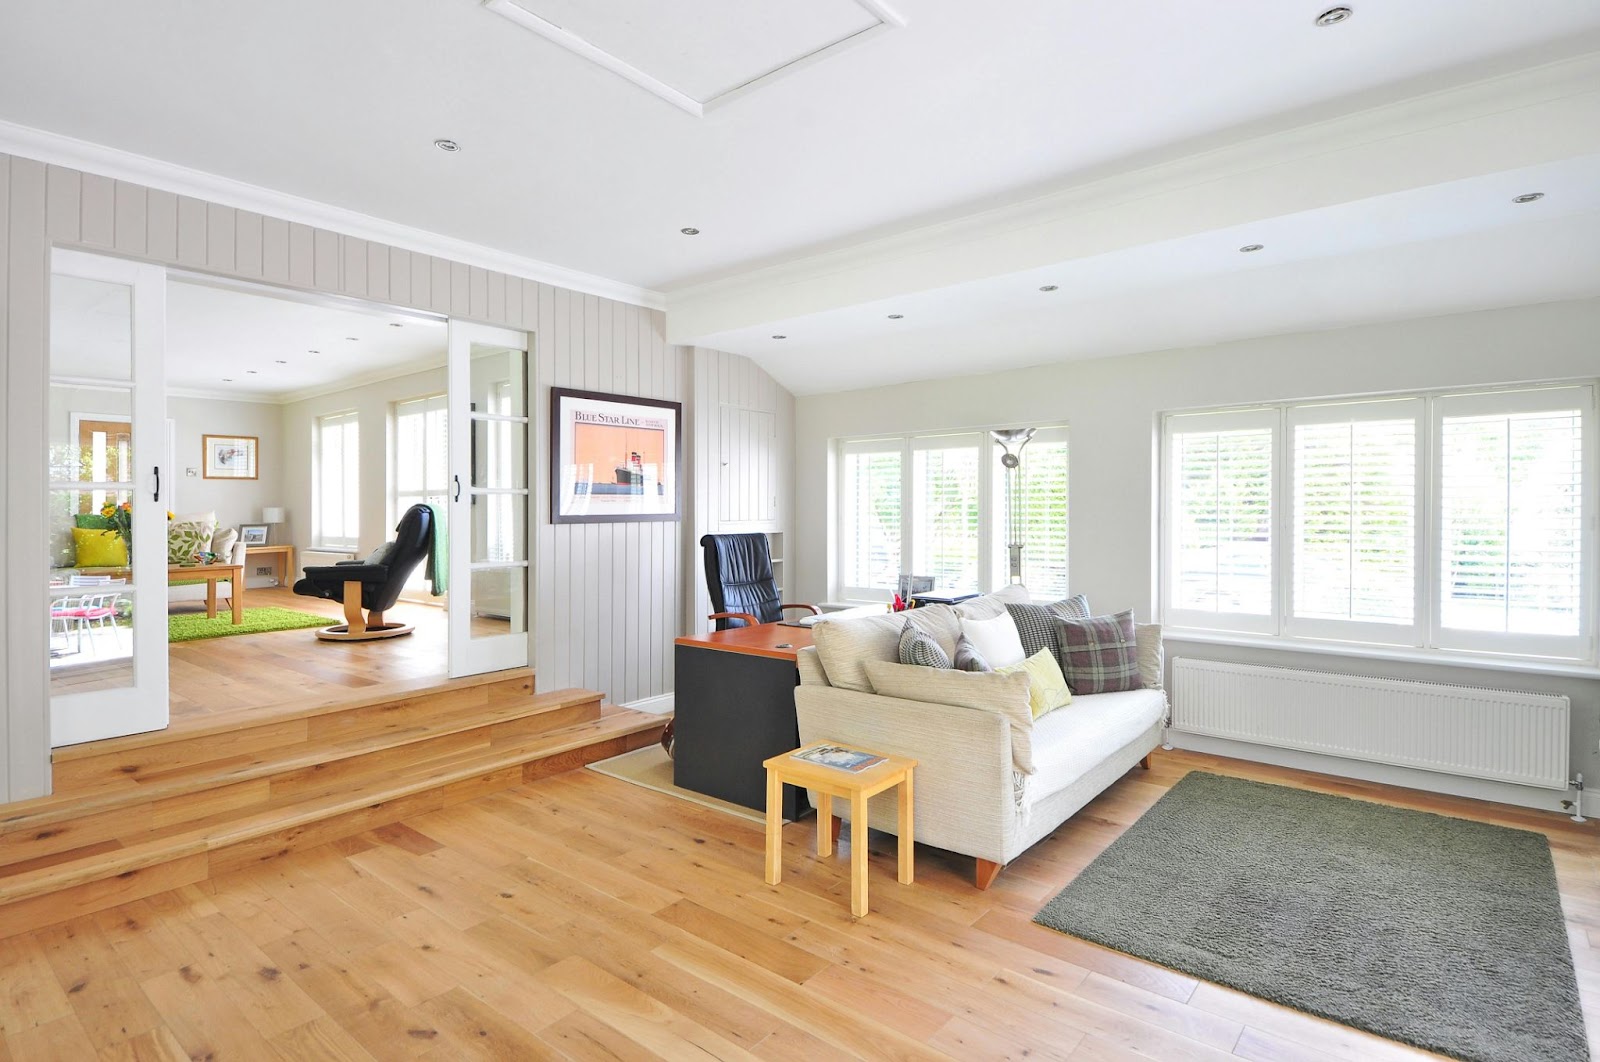
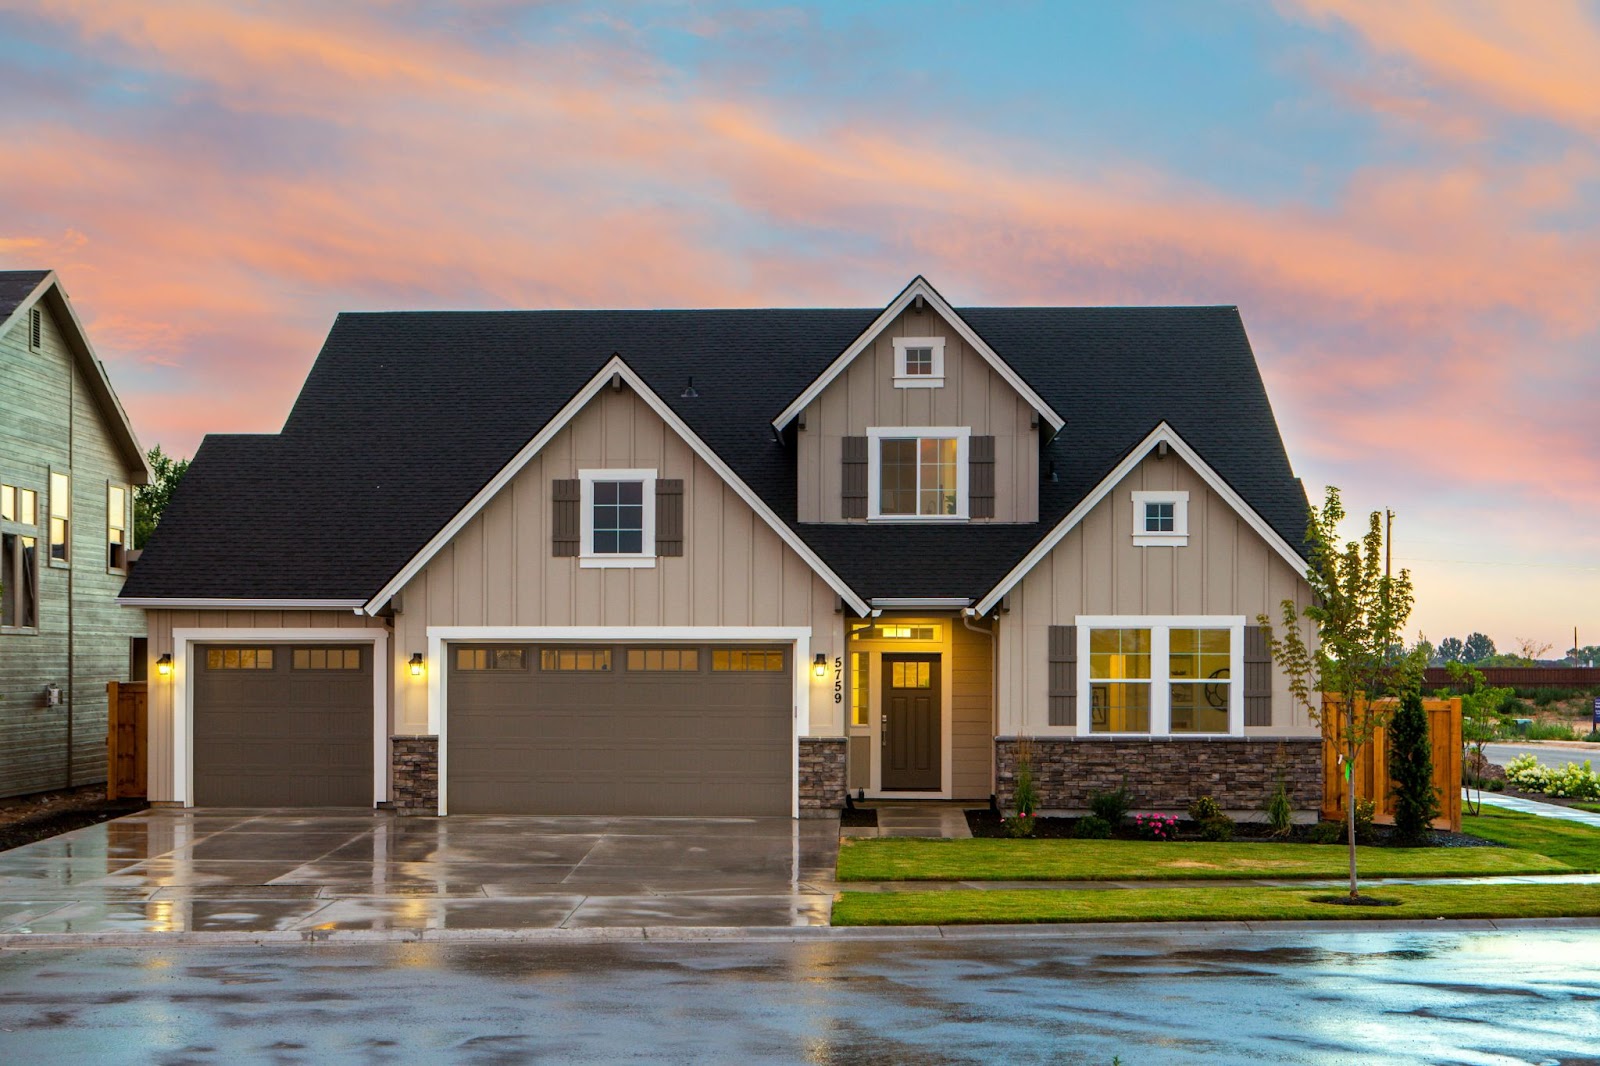
Step 4: Choose a Design That Matches Your Home’s Aesthetic
A well-designed ADU should feel like a natural extension of your home not an afterthought. In the Bay Area, where architectural styles vary widely by neighborhood, visual harmony matters. Blending your ADU with your existing home and surroundings can boost property value and avoid neighbor resistance during the planning process.
- Match rooflines, trim, and exterior finishes to maintain a unified look.
- Reflect your home’s style whether it's Craftsman, Modern, or Victorian for visual consistency.
- Preserve curb appeal by placing the ADU thoughtfully within your lot layout.
Pro Tip: Choose designers who offer 3D renderings or virtual walkthroughs. This helps you visualize how your ADU will integrate before construction begins.Explore our ADU Project Gallery to see examples of beautifully integrated designs.
Step 5: Optimize for Energy Efficiency and Natural Light
Designing your ADU with energy in mind today will save you thousands tomorrow. In the Bay Area, your new unit isn’t just an addition, it must meet California’s stringent Title 24 energy codes and comply with CALGreen standards. Beyond legal requirements, designing with energy efficiency enhances comfort, lowers utility bills, and boosts resale value. Smart choices in orientation, appliances, and systems make your ADU greener and more cost-effective from the start.
- Use passive solar orientation and south-facing windows to maximize natural heat and daylight.
- Select ENERGY STAR-rated appliances to minimize power consumption without sacrificing performance.
- Opt for high-efficiency HVAC systems properly sized for your climate zone.
- Consider on-demand (tankless) water heaters and solar-ready wiring or panels when budget allows.
Pro tip: Ask your designer how they integrate efficiency features that exceed compliance, reducing long-term energy costs while aligning with California’s green building goals.
Step 6: Think Long-Term: Storage, Flexibility, and Accessibility
Designing your ADU so that it works today and into the future takes thoughtful planning. You want a unit that accommodates aging in place, changing lifestyle needs, or future resale value all without expensive retrofits. That means considering storage, accessibility, and flexible layouts now. Smart decisions up front like accessible entries or convertible furniture create a comfortable, adaptable space that remains useful and marketable over time.
Good ADU design should function now and in the future. Consider:
- Built-in storage (closets, under-stair drawers, vertical shelves)
- Wide hallways and no-step entries for aging in place
- Convertible layouts (Murphy beds, sliding partitions)
These design choices boost daily usability and long-term appeal. See how GatherADU’s full-service process ensures your ADU is both livable and future-ready.
Step 7: Get a Realistic Budget and Timeline Based on Design Complexity
Bay Area construction costs vary widely depending on the location and design. A flat-lot garage conversion in San Jose will cost far less than a hillside detached unit in Mill Valley. Make sure your design partner provides:
- A design that matches your budget constraints
- Itemized costs for design, permits, engineering, and construction
- A timeline from feasibility through final inspection
Red flag: Designers who promise permit approvals in “just a few weeks” without investigating your site.
For a tailored estimate, try our free ADU budget calculator.
Ready to Design the Perfect ADU for Your Bay Area Home?
Designing an ADU in the Bay Area can be overwhelming. With high costs, strict codes, and limited space, one wrong step can derail your plans. But with the right design partner, you can create a beautiful, legal, and functional space that enhances your lifestyle and property value.
GatherADU brings clarity and experience to every project. From feasibility studies to 3D design and permit-ready plans, we’re your local Bay Area experts. Call us today at (323) 591-3717 to schedule your free consultation and start planning with confidence.
Frequently Asked Questions
How much does it cost to design an ADU in the Bay Area?
Most design packages range from $8,000 to $25,000 depending on complexity, location, and whether you need structural engineering or custom floor plans.
How long does it take to get ADU design approval in the Bay Area?
Expect around 2–4 months on average. The exact timeline depends on your city’s permitting process and how complete your application is. For guidance, visit your local city's planning department or explore regional ADU resource centers.
Can I use a prefab ADU design in the Bay Area?
Yes, but local permitting still applies. Some cities are more prefab-friendly than others. Always verify zoning compatibility first.
What are the most space-efficient ADU designs?
Studio or one-bedroom units with open layouts, built-in storage, and multi-functional furniture are the most efficient for small lots.
Do ADU designs have to match my main house?
Not always, but many cities prefer that they complement the main structure in materials and style to maintain neighborhood aesthetics.