Embarking on an Accessory Dwelling Unit (ADU) project is an exciting venture for California homeowners, promising increased property value, rental income, or flexible living space. While the dream of a new backyard home is captivating, understanding the practicalities of the ADU construction process is crucial. It’s a journey with many steps, from initial site preparation to the joyous day you get the keys.
At GatherADU, we believe in empowering homeowners with knowledge. This comprehensive guide will walk you through each phase of ADU construction, demystifying the timeline, inspections, and key milestones. By knowing what to expect, you can approach your project with confidence and clarity.
Phase 1: Pre-Construction & Site Preparation – Laying the Groundwork
Before the first shovel breaks ground, a significant amount of preparation ensures a smooth build. This phase is about getting your site ready and all necessary approvals in place after your design and engineering plans are finalized.
Permitting & Approvals
- Building Permits: Once your ADU design and engineering plans are complete and approved by your local planning department, the next crucial step is securing the necessary building permits. This involves submitting detailed construction drawings to the city or county building department for review and approval.
- Utility Clearances: Depending on your project, you might need approvals or coordination with local utility providers for water, sewer, power, and gas connections.
Site Assessment & Preparation
- Site Survey & Geotechnical Report: A professional survey confirms property lines, existing structures, and topography. A geotechnical report (soil test) may be required to assess soil conditions, which informs foundation design.
- Site Clearing & Demolition: If your ADU is replacing an existing structure, shed, or requires removal of trees or significant landscaping, this work occurs now.
- Utility Disconnection/Relocation: Existing utility lines that interfere with the new ADU footprint will be safely disconnected or relocated.
- Temporary Facilities: Setting up temporary power, water, and sanitary facilities for the construction crew.
Navigating the complex world of permits and site preparation can be daunting. GatherADU specializes in streamlining this process for California homeowners, ensuring all regulatory requirements are met efficiently. If you're ready to explore how we can simplify your ADU journey, book a free ADU consultation with our experts today.
Phase 2: Foundation & Framing – Building the Structure
This phase is where your ADU starts to take tangible shape, forming the very bones of your new structure.
Excavation & Footings
- Excavation: The ground is dug out according to the foundation plans, ensuring proper depth and levelness.
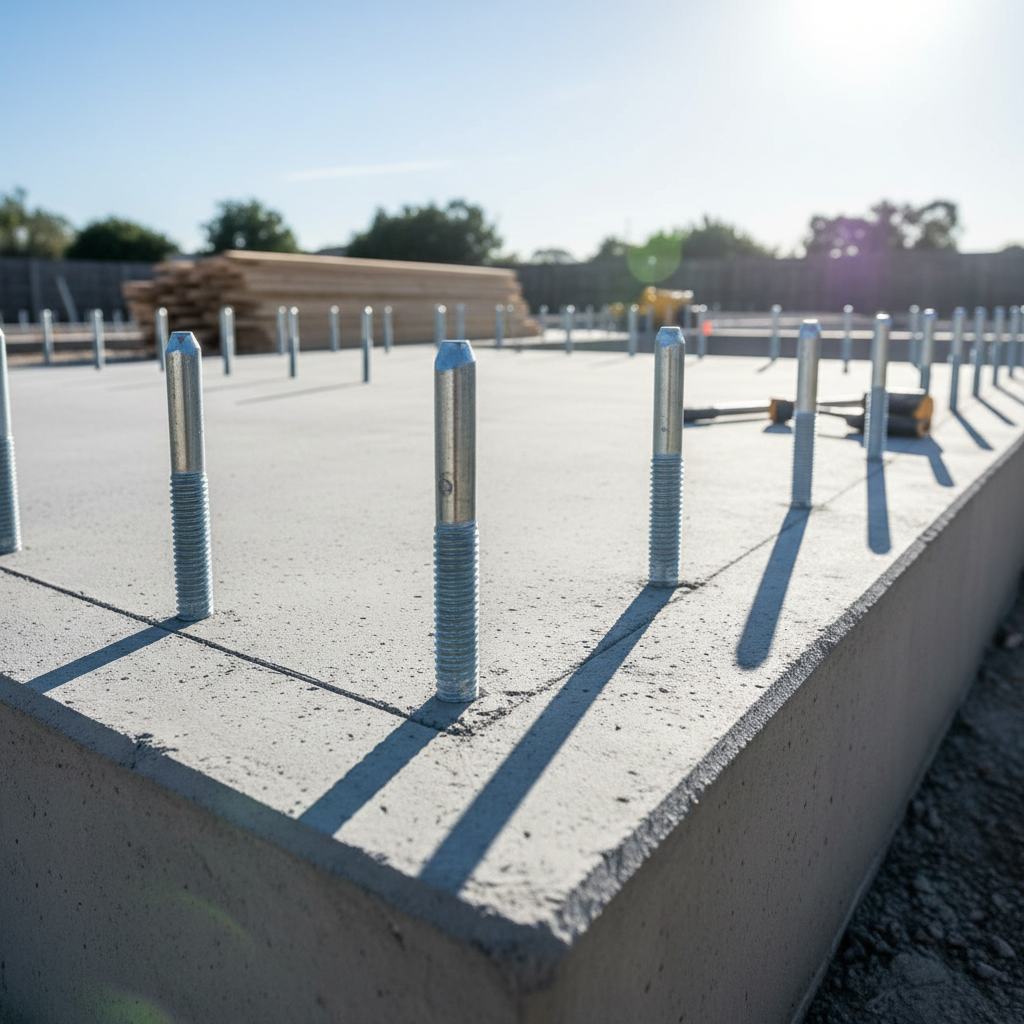
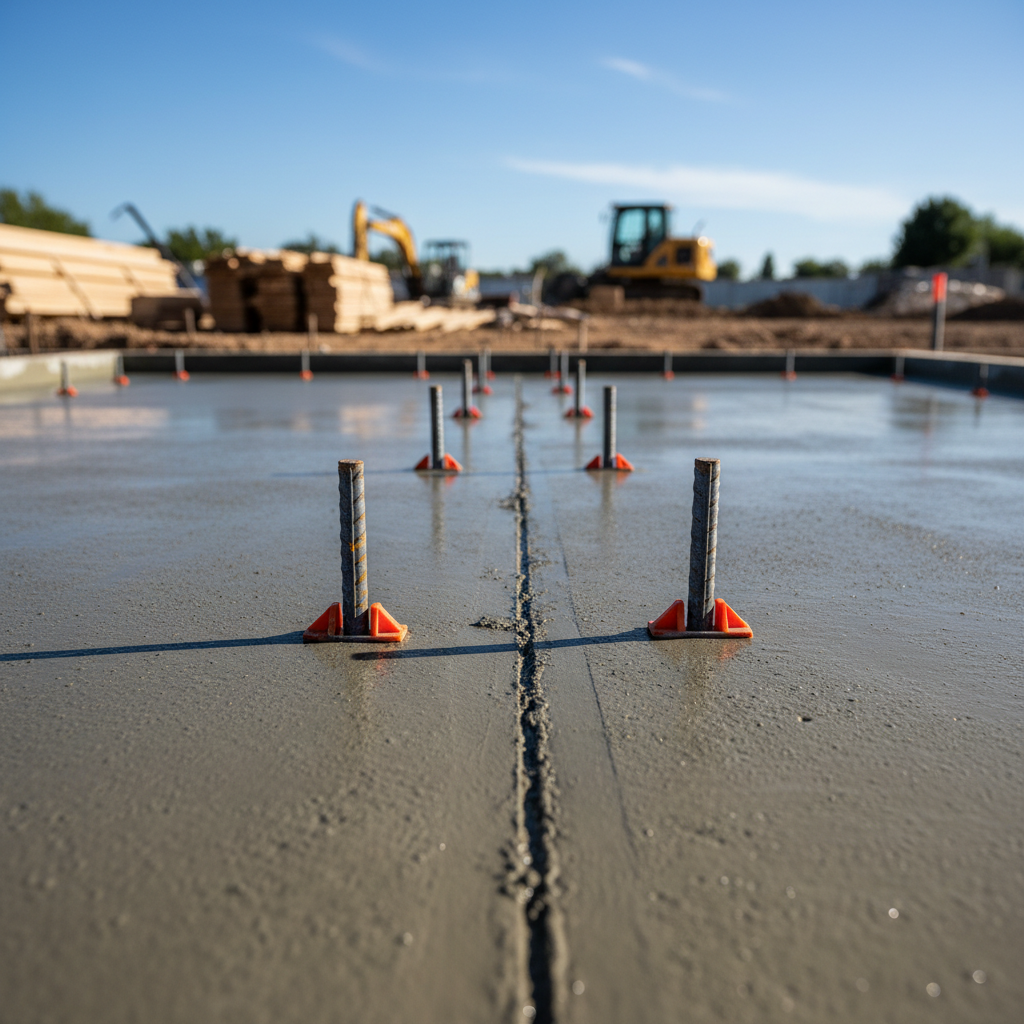
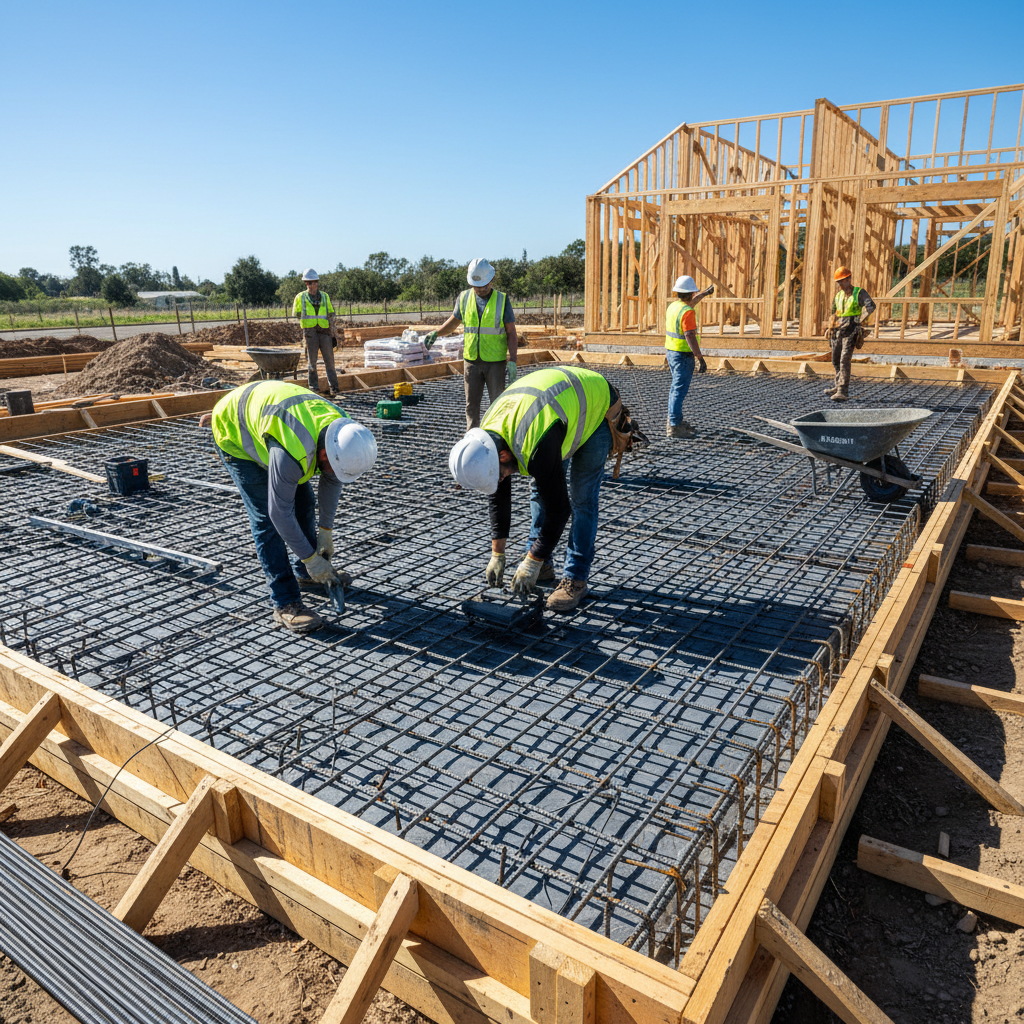
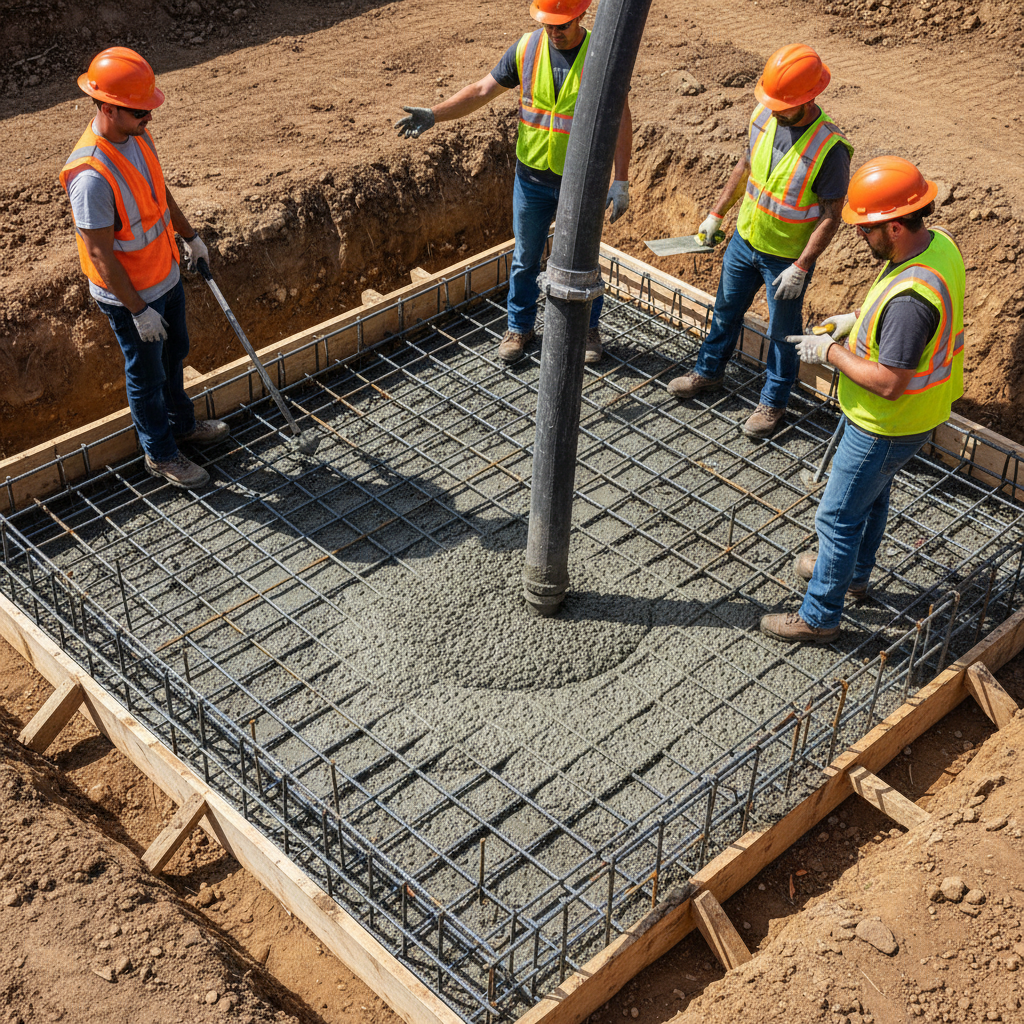
- Footings: Trenches are dug for the footings, which are the concrete supports that bear the weight of the structure. Rebar (reinforcing steel) is placed within these trenches.
- Underground Utilities: Any plumbing or electrical lines that need to run beneath the slab are installed at this stage.
- Foundation Inspection: Before concrete is poured, the building inspector will verify that footings, rebar, and underground utilities meet code.
- Concrete Pour: Once inspected, concrete is poured for the footings and, if applicable, the slab foundation. This needs time to cure properly.
Framing
- Wall & Roof Framing: Lumber is used to construct the skeletal structure of the ADU, including walls, floor joists (for two-story ADUs), and roof trusses or rafters.
- Sheathing: Plywood or OSB (Oriented Strand Board) panels are applied to the exterior walls and roof, providing structural rigidity.
- Framing Inspection: The building inspector will review the completed framing and sheathing to ensure it complies with structural codes.
Phase 3: Rough-Ins & Exterior Shell – Weatherproofing Your ADU
With the frame up, the focus shifts to installing the essential systems that make the ADU functional and protecting it from the elements.
Mechanical, Electrical, and Plumbing (MEP) Rough-Ins
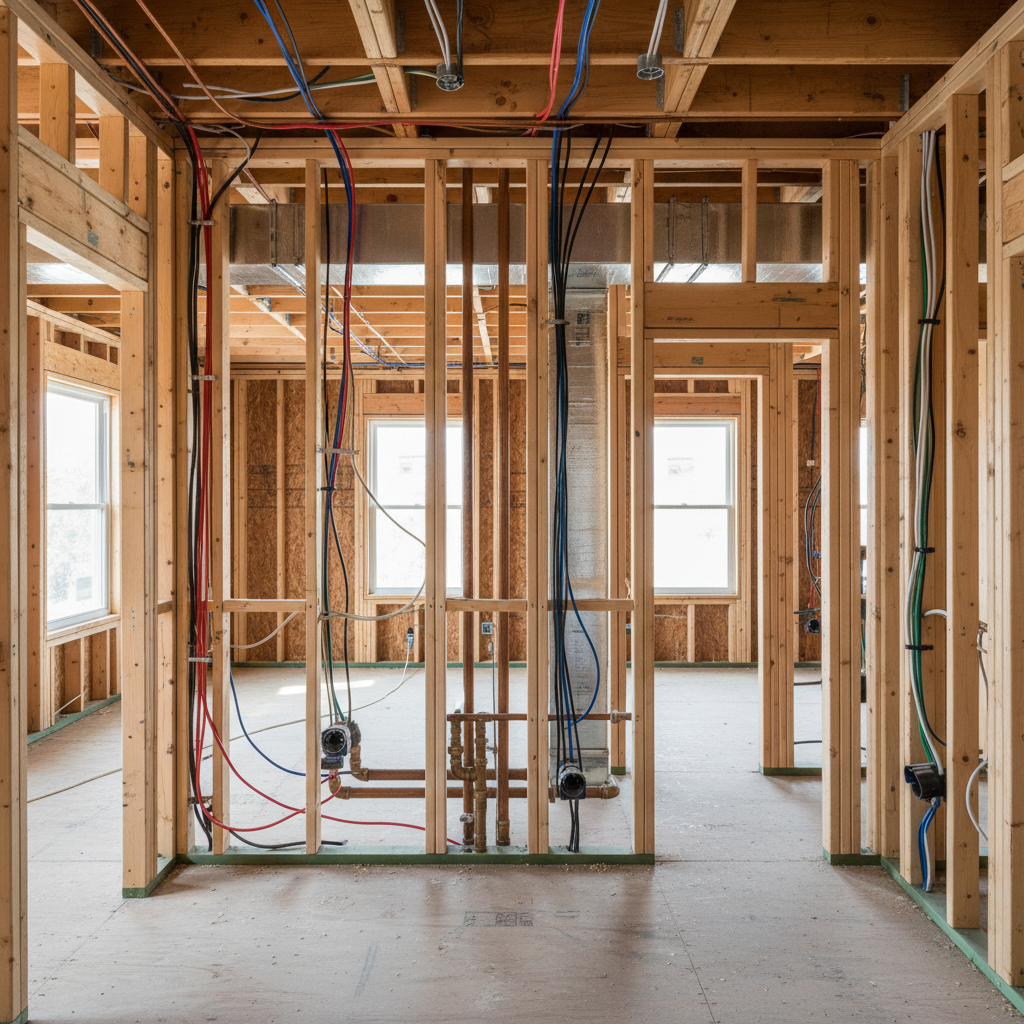
- Rough Plumbing: All water supply lines, drain lines, and vent pipes are run through the walls, floors, and ceilings to the locations of future fixtures.
- Rough Electrical: Electrical wiring, conduit, outlet boxes, and switch boxes are installed throughout the framed structure.
- Rough HVAC: Ductwork for heating, ventilation, and air conditioning (HVAC) systems is installed.
- MEP Inspections: Separate inspections for plumbing, electrical, and mechanical systems are conducted before walls are closed up.
Exterior Shell
- Roofing: The roofing underlayment, flashing, and final roofing material (shingles, tiles, metal) are installed, making the structure watertight.
- Window & Door Installation: All exterior windows and doors are installed, sealed, and flashed to prevent water intrusion.
- Exterior Siding/Stucco Prep: Weather-resistant barriers (e.g., house wrap) are applied, and any necessary lath or base coats for stucco are installed.
This phase often feels like a rapid transformation, as the ADU quickly becomes enclosed and protected. Managing the various trades and inspections requires meticulous coordination. GatherADU's project management ensures seamless transitions between these critical stages, keeping your project on track and within budget. Consider reaching out to us to discuss your ADU project with an expert.
Phase 4: Insulation, Drywall & Interior Finishes – Creating Livable Spaces
Inside the now-enclosed structure, the focus shifts to making the ADU comfortable, aesthetically pleasing, and ready for occupancy.
Insulation & Drywall
- Insulation: Once rough inspections pass, insulation (fiberglass, mineral wool, spray foam) is installed in walls, ceilings, and floors to meet energy efficiency standards.
- Insulation Inspection: The building department inspects the insulation before drywall installation.
- Drywall Installation: Gypsum boards (drywall) are hung, taped, and mudded, creating smooth interior walls and ceilings. This involves multiple coats and sanding.
Interior Finishes
- Interior Painting: Walls, ceilings, and trim receive primer and final coats of paint.
- Flooring Installation: Hardwood, laminate, tile, carpet, or other flooring materials are installed.
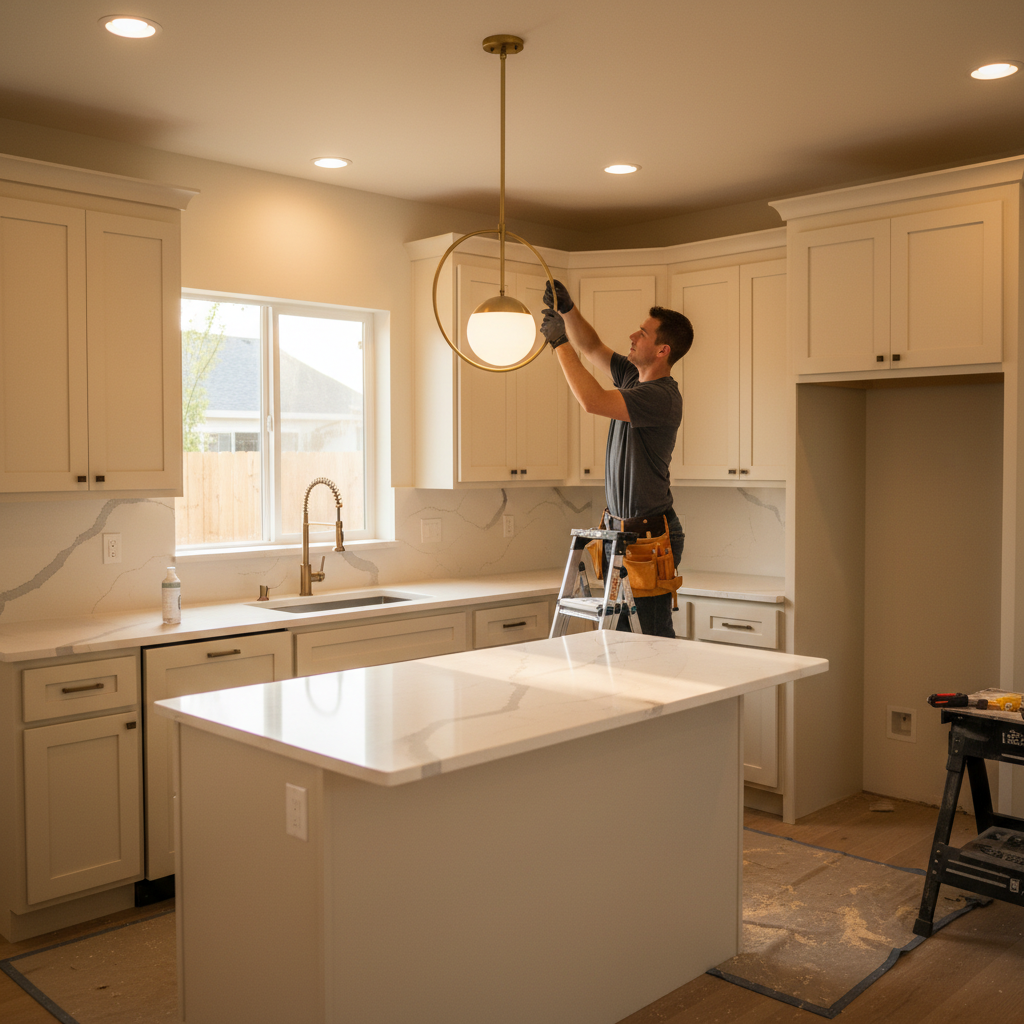
- Cabinetry & Countertops: Kitchen and bathroom cabinets are installed, followed by the countertops.
- Trim Work: Baseboards, door casings, window sills, and crown molding are installed.
Phase 5: Fixtures, Utilities & Exterior Finishes – The Final Details
This phase brings the ADU to life, connecting all systems and completing the exterior aesthetics.
- Plumbing Fixtures: Toilets, sinks, faucets, showers, and bathtubs are installed and connected.
- Electrical Fixtures: Light fixtures, ceiling fans, switches, outlets, and electrical trim plates are installed.
- HVAC System Completion: The furnace/air handler, condenser unit, and thermostats are installed and commissioned.
- Appliance Installation: Major appliances like the stove, refrigerator, dishwasher, and washer/dryer (if applicable) are moved in and hooked up.
- Exterior Finishes: The final exterior siding, stucco, or paint is applied. Any exterior trim, railings, or decorative elements are installed.
- Utility Connections: Final connections are made for water, sewer, electricity, and gas.
Phase 6: Final Inspections & Move-In – The Grand Finale
The finish line is in sight! This final phase ensures everything is up to code and ready for you or your tenant to enjoy.
- Final Building Inspection: The city or county building inspector conducts a comprehensive final review of the entire ADU, ensuring all work complies with code and all previous inspections have passed.
- Certificate of Occupancy (COO): Once the final inspection passes, the Certificate of Occupancy is issued. This document legally certifies that the ADU meets all building and safety codes and is safe for habitation.
- Final Cleaning: A thorough cleaning of the entire ADU, removing construction dust and debris.
- Punch List Completion: Any minor cosmetic touch-ups or adjustments identified during a final walkthrough are addressed.
- Landscaping & Hardscaping: If not completed earlier, final landscaping, pathways, and patios around the ADU are finished.
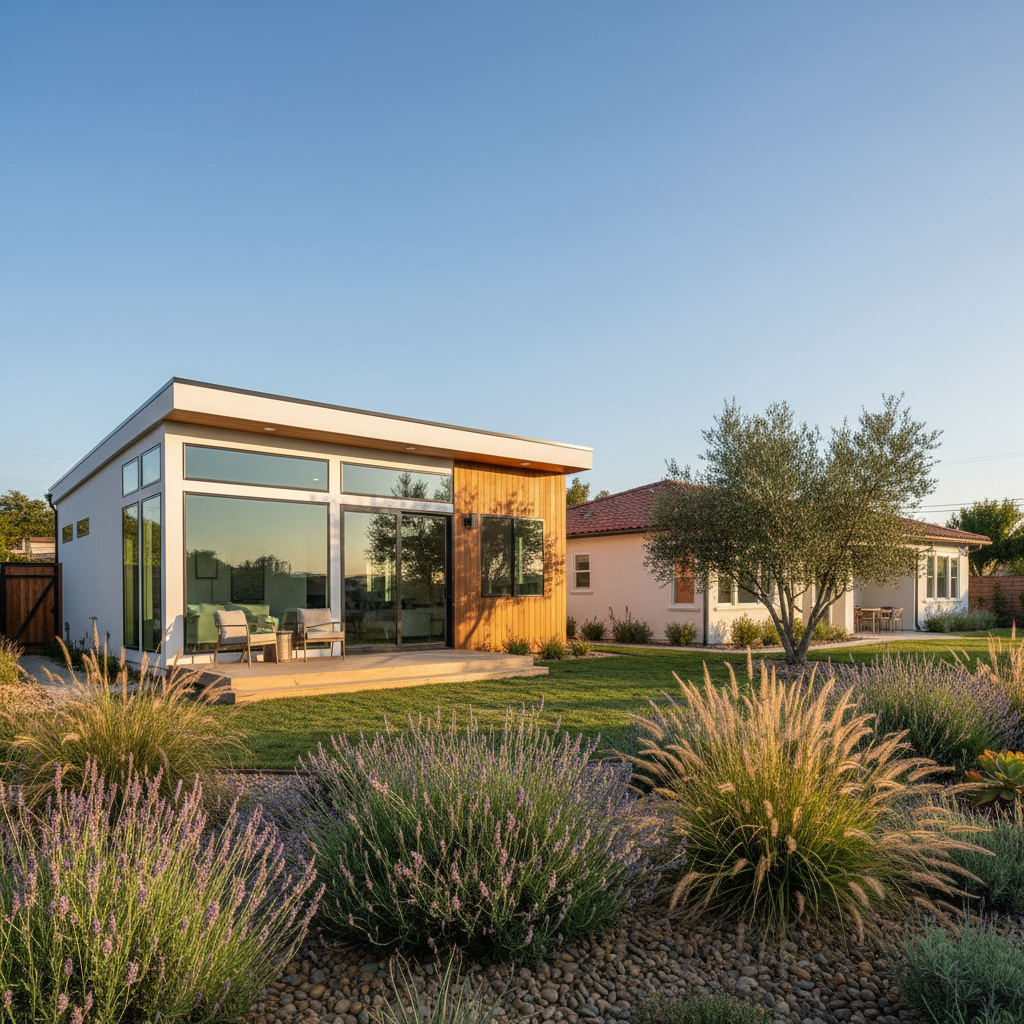
- Move-In!: With the COO in hand and everything complete, your new ADU is ready for occupancy!
Your ADU Journey with GatherADU
The ADU construction process is a complex but incredibly rewarding journey. From the initial groundbreaking to the final move-in, each phase plays a vital role in bringing your vision to life. While the steps are numerous, working with an experienced and dedicated team like GatherADU makes all the difference.
We pride ourselves on our meticulous planning, transparent communication, and expert execution, ensuring your California ADU project is completed efficiently, to the highest standards, and with minimal stress for you. Let us guide you through every stage, turning your ADU dream into a tangible reality.
Ready to start your ADU project with confidence? Schedule a free, no-obligation ADU consultation with GatherADU today and let's discuss how we can build the perfect backyard home for you.