Why Documenting Existing Conditions Is Critical for Your ADU Project
Before any pencil touches paper on your ADU design, you need a thorough understanding of what already exists on your property. Documenting existing conditions is one of the most important pre-design steps in any construction project, and ADUs are no exception. Skipping this step or doing it poorly can lead to costly redesigns, unexpected construction challenges, permit delays, and budget overruns.
In this guide, we will walk you through every aspect of documenting existing conditions for an ADU project, from property surveys and measurements to utility mapping, tree assessments, and soil investigations. Whether you are working with an architect, a design-build firm, or planning a comprehensive ADU project, this information will help you start your project on solid footing.

Starting with a Property Survey
A property survey is the foundation of your existing conditions documentation. It provides a legally accurate representation of your property boundaries, dimensions, and the location of existing structures.
Types of Surveys You May Need
| Survey Type | Purpose | Typical Cost | When Needed |
|---|---|---|---|
| Boundary Survey | Confirms property lines | $500 to $1,500 | Always recommended |
| Topographic Survey | Maps elevation changes | $1,000 to $3,000 | Sloped lots or drainage concerns |
| ALTA/NSPS Survey | Comprehensive title survey | $2,000 to $5,000 | Complex properties with easements |
| As-Built Survey | Documents existing structures | $800 to $2,000 | If converting existing structures |
For most ADU projects, a combined boundary and topographic survey is the best starting point. This gives your architect accurate property dimensions and elevation data in a single package. For more guidance, see our article on when to order a survey for your ADU project.
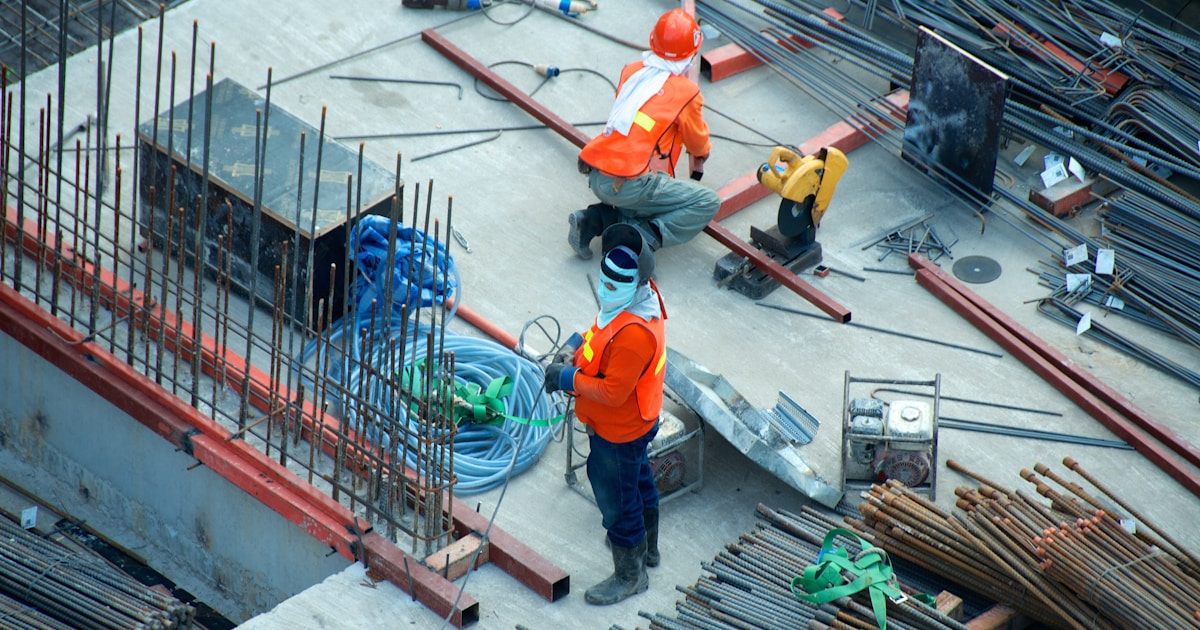
Comprehensive Photo Documentation
Photos are one of the easiest and most valuable forms of documentation. They provide a visual record that helps designers, contractors, and permitting officials understand your site. Here is how to create thorough photo documentation:
What to Photograph
- Overall property views: Capture the entire property from multiple angles, including from the street, from the backyard looking toward the house, and from each corner of the lot
- Proposed ADU location: Take photos of the specific area where you plan to build, from multiple directions
- Existing structures: Document all structures including the main house, garage, sheds, fences, retaining walls, and any outbuildings
- Utility connections: Photograph electrical panels, water meters, gas meters, sewer cleanouts, and any visible utility lines
- Trees and landscaping: Document all significant trees (especially those over 4 inches in diameter at breast height) and established landscaping
- Drainage patterns: Show any visible drainage features, low spots, or areas where water collects
- Adjacent properties: Photograph neighboring structures, especially those near the shared property lines
- Access points: Document driveways, walkways, gates, and any access routes that construction equipment would need to use

Photo Documentation Best Practices
- Use a systematic approach: Start at the front of the property and work your way clockwise around the lot
- Include reference objects: Place a measuring tape or yardstick in photos to provide scale
- Capture details: Close-up shots of existing foundation conditions, roof connections, utility meters, and potential tie-in points
- Use timestamps: Most smartphone cameras automatically timestamp photos, but verify this setting is enabled
- Organize by location: Create folders for different areas of the property (front yard, backyard, side yards, structures)
- Include aerial views: If possible, use a drone or elevated vantage point for overhead shots. Google Earth can also provide supplementary aerial imagery
Ready to Start Your ADU Project?
Get a free consultation with our ADU experts and discover your property's potential.
Schedule Free ConsultationTaking Accurate Measurements
While a professional survey provides the most accurate measurements, there are several measurements you should take yourself to supplement the survey data:
Key Measurements to Record
| Measurement | Why It Matters | Tool Needed |
|---|---|---|
| Distance from main house to property lines | Determines available building area | 100-ft tape measure |
| Garage dimensions (interior and exterior) | Essential for garage conversions | 25-ft tape measure |
| Ceiling heights (existing structures) | Confirms habitable space requirements | Laser measure |
| Gate and access widths | Construction equipment access | Tape measure |
| Overhead clearances | Equipment and crane access | Laser measure |
| Tree trunk diameters | Tree protection requirements | Diameter tape or calculation |
| Slope and grade changes | Foundation design and drainage | Level, measuring tape |
Utility Mapping and Documentation
Understanding where your existing utilities run is critical for ADU design. Building over or too close to utility lines can cause major problems during construction and potentially dangerous situations afterward.
Utilities to Locate and Map
- Water lines: From the meter to the house and any hose bibs or irrigation connections
- Sewer/drain lines: Main sewer lateral, cleanouts, and any existing drain lines
- Gas lines: From the meter to the house, including any outdoor gas connections
- Electrical lines: Overhead or underground service, panel location, and any outdoor circuits
- Cable/telecom lines: Service entry point and any outdoor junctions
- Irrigation systems: Sprinkler lines, valves, and controllers
How to Locate Underground Utilities
Before any digging begins on your property, you are legally required to call 811 (DigAlert in California) at least two business days before excavation. This free service will mark the approximate location of publicly owned utility lines. However, private utility lines on your property (such as your sewer lateral from the house to the main line) are your responsibility to locate.
For private utility lines, consider hiring a utility locating service that uses ground-penetrating radar (GPR) or electromagnetic locating equipment. This typically costs $300 to $600 and can save thousands in repair costs if a line is accidentally damaged during construction.

Tree Survey and Assessment
Trees can be both an asset and a complication for ADU projects. Many California cities have tree protection ordinances that require permits to remove or significantly trim certain trees. A tree survey documents all significant trees on your property and helps you plan your ADU to minimize tree impacts.
What a Tree Survey Includes
- Species identification for all trees on the property
- Trunk diameter measurements at breast height (DBH), typically 4.5 feet above ground
- Canopy spread measurements
- Tree health assessment
- Root zone estimation (critical for avoiding damage during construction)
- Location mapping relative to property boundaries and existing structures
Protected Trees in California
In Los Angeles, protected trees include any oak tree with a trunk diameter of 8 inches or greater, any Southern California black walnut with a trunk of 4 inches or greater, and any Western sycamore or California bay laurel with a trunk of 12 inches or greater. Removal of protected trees requires a permit from the city's Urban Forestry Division and may require planting replacement trees.
If protected trees are located near your proposed ADU site, your architect will need to design the ADU to avoid the tree's critical root zone (CRZ), which generally extends from the trunk to the outer edge of the canopy drip line.
Wondering What Your ADU Will Cost?
Use our free cost calculator to get an instant estimate for your project.
Try the Cost CalculatorSoil Condition Assessment
Soil conditions affect foundation design, drainage, and construction costs. While a formal geotechnical report may not be required for every ADU project, understanding your soil is always valuable.
When a Soil Report Is Required
- Properties in hillside areas or on slopes greater than 10%
- Lots in known expansive soil areas (common in parts of Los Angeles)
- Properties near fault lines or in seismic hazard zones
- When the building department requests one as a condition of permit issuance
- Projects requiring deep foundations or retaining walls
What a Geotechnical Report Includes
A geotechnical investigation typically involves drilling one or more test borings on your property and analyzing the soil samples. The resulting report provides:
- Soil type classification and bearing capacity
- Groundwater depth and conditions
- Expansion potential (shrink-swell characteristics)
- Foundation recommendations specific to your site
- Grading and drainage recommendations
- Seismic design parameters
A standard geotechnical report costs $2,500 to $5,000 and takes 2 to 4 weeks from drilling to final report delivery. Learn more about soil reports and ADU construction costs in our ADU cost guide.

Documenting Existing Structures
If you plan to build near, attach to, or convert an existing structure, detailed documentation of that structure is essential.
What to Document for Garage Conversions
- Interior and exterior dimensions
- Wall construction type (wood frame, CMU block, etc.)
- Roof structure type and condition
- Foundation type and condition
- Electrical service (if any)
- Plumbing connections (if any)
- Ceiling height (minimum 7 feet required for habitable space)
- Existing permits and building history
What to Document for Attached ADUs
- Main house foundation type and depth
- Existing roof structure and attachment points
- Wall framing type and condition
- Location of load-bearing walls near the attachment point
- Existing utility connections and panel capacity
Complete Documentation Checklist
Use this master checklist to make sure you have covered all aspects of existing conditions documentation:
| Category | Items to Document | Status |
|---|---|---|
| Property Survey | Boundaries, topography, easements | Required |
| Photos | Property, structures, utilities, trees, access | Required |
| Measurements | Distances, heights, access widths | Required |
| Utility Map | Water, sewer, gas, electric, telecom | Required |
| Tree Survey | Species, size, health, location | If trees present |
| Soil Assessment | Soil type, bearing capacity, groundwater | If required by site conditions |
| Existing Structure Plans | Original building plans, permits | If converting or attaching |
| Title Report | Easements, restrictions, covenants | Recommended |
| Zoning Research | Zone, overlays, specific plans | Required |
Working with Professionals
While you can do much of the documentation yourself, some elements require licensed professionals:
- Licensed Surveyor (PLS): Required for official property surveys
- Arborist (ISA Certified): Required for protected tree assessments
- Geotechnical Engineer (GE): Required for soil reports
- Architect or Designer: Can help coordinate all documentation efforts
When selecting an ADU contractor or design-build firm, ask whether they coordinate existing conditions documentation as part of their services. Many full-service ADU companies handle survey coordination, soil testing, and utility mapping as part of their pre-design package.
Conclusion
Thorough documentation of existing conditions is an investment that pays for itself many times over during the design, permitting, and construction phases of your ADU project. By understanding exactly what exists on your property before design begins, you minimize surprises, reduce costly change orders, and set your project up for a smooth and efficient process.
Start with a property survey and comprehensive photo documentation, then add utility mapping, tree surveys, and soil assessments as needed based on your specific property conditions. The time and money you spend on documentation upfront will save you significantly more during construction.
Ready to Start Your ADU Project?
Get a free consultation with our ADU experts and discover your property's potential.
Schedule Free ConsultationCommon Documentation Mistakes That Delay ADU Projects
After reviewing hundreds of ADU project documentation packages, we have identified the mistakes that most frequently cause delays, redesigns, and unexpected costs. Avoiding these pitfalls will keep your project on track and save you money.
Relying on Old or Inaccurate Property Records
Many homeowners assume that the property records on file with their city or county are accurate. In reality, older homes, especially those built before the 1970s, often have significant discrepancies between recorded lot dimensions and actual conditions. Additions, fence relocations, and even city infrastructure changes can shift the reality on the ground. Always verify with a current survey rather than relying solely on assessor maps or title documents.
Incomplete Photo Documentation
Taking a few snapshots of your backyard is not the same as thorough existing conditions documentation. You need systematic photos that cover every angle of the proposed ADU location, including overhead utility lines, neighboring structures, drainage patterns, slope conditions, and existing hardscape. Date-stamped photos from multiple times of day can also reveal sun exposure patterns that affect ADU design decisions.
Ignoring Underground Conditions
What lies beneath your property is just as important as what is visible above ground. Failing to document existing utility lines, septic systems, old foundations, or buried debris can lead to costly surprises during construction. A utility locate service (call 811 before you dig) and a thorough site investigation should be part of your documentation process. For related information on underground utilities, see our guide on sewer lateral connection costs for ADUs.
Not Documenting Neighboring Property Conditions
Your ADU project does not exist in isolation. Documenting the conditions of adjacent properties, including fence locations, overhanging trees, drainage from neighboring lots, and proximity of neighboring structures, is critical. This documentation protects you from disputes later and helps your designer account for privacy and setback considerations.
Pro Tips for Working with Surveyors
A professional surveyor is one of the most important partners in your ADU planning process. Here is how to get the most value from that relationship.
- Request an ALTA/NSPS survey if your property is complex: While a standard boundary survey may suffice for simple lots, properties with easements, shared driveways, or irregular boundaries benefit from the more comprehensive ALTA survey format
- Be present during the survey: Walk the property with your surveyor and point out features you are aware of, such as old fence lines, buried utilities, or areas where you suspect encroachments. Your local knowledge can save the surveyor time and improve accuracy
- Ask for a topographic survey at the same time: If your lot has any slope, combining boundary and topographic surveys in a single visit saves money compared to scheduling them separately
- Request digital files: Ask your surveyor to provide the survey in both PDF and CAD format. Your architect or designer will need the CAD file to overlay their ADU plans accurately
- Verify corner monuments: Ask the surveyor to locate and verify property corner monuments. If monuments are missing or disturbed, the surveyor can set new ones, which protects your property boundaries for future reference
For detailed guidance on when to schedule your survey, read our article on when to order a survey for your ADU project.
Frequently Asked Questions: Documenting Existing Conditions
How much does it cost to document existing conditions for an ADU?
The cost varies depending on the complexity of your property. A basic boundary survey runs $500 to $1,500. Adding topographic surveying costs an additional $500 to $1,000. Professional photography and site analysis by your designer may be included in their design fees or billed separately at $200 to $500. Budget $1,500 to $3,000 total for thorough documentation on a typical Los Angeles lot. Review our article on hidden ADU costs to understand how these expenses fit into your overall budget.
Can I do my own existing conditions documentation instead of hiring a professional?
You can handle basic photo documentation and preliminary measurements yourself, but professional surveys and engineering assessments should always be done by licensed professionals. Your self-documentation can complement professional work and help your designer understand the property better, but it should not replace it. Errors in property dimensions or utility locations can lead to permit denials or construction problems that far exceed the cost of professional documentation.
How long is an existing conditions survey valid?
Most surveyors and cities consider a survey valid for two to three years, assuming no significant changes to the property or neighboring properties. If you had a survey done recently for a different project (such as a fence installation or property sale), it may still be usable for your ADU application. Check with your designer and local planning department to confirm.
What documents should I gather before my surveyor arrives?
Having the following documents ready will make the survey process more efficient: your property deed and legal description, any previous surveys or site plans, your title report showing easements and encumbrances, building permits for the existing home and any additions, and utility account information. The more information you provide upfront, the more thorough and accurate the survey will be.
Do I need a soil report as part of my existing conditions documentation?
A geotechnical (soil) report is typically required for new construction in California, and most cities will require one for your ADU. The soil report assesses bearing capacity, drainage characteristics, and seismic risk. It is generally ordered after the survey and before the design phase, so you know the foundation requirements before your designer finalizes the plans. For more on soil-related requirements, check our guide on soil reports for ADU construction.