Embarking on an Accessory Dwelling Unit (ADU) project in California is an exciting venture, promising increased property value, rental income, or flexible living space. However, before the first shovel breaks ground, meticulous property preparation is paramount. Understanding how to prepare property for ADU construction is not just about clearing a space; it’s about laying the groundwork for a smooth, efficient, and ultimately successful build. Neglecting this crucial pre-construction phase can lead to costly delays, unexpected challenges, and budget overruns.
At GatherADU, we believe that informed homeowners are empowered homeowners. This comprehensive guide will walk you through every essential step to get your property ready, ensuring that when our team arrives, everything is in place for a seamless construction process. From initial assessments to final site readiness, we'll cover what you need to know to transform your backyard into the perfect foundation for your new ADU.
Why Pre-Construction Preparation Is Non-Negotiable
Many homeowners underestimate the importance of pre-construction planning, focusing solely on design and permits. However, adequate preparation of your physical property offers several significant benefits:
- Avoids Costly Delays: Identifying and resolving potential issues (like hidden utility lines or drainage problems) before construction starts prevents expensive pauses and rescheduling.
- Ensures Budget Adherence: Unexpected site conditions are a major source of budget creep. Thorough preparation helps identify and account for these costs upfront.
- Streamlines the Build Process: A well-prepared site allows contractors to work efficiently, reducing overall construction time.
- Minimizes Disruptions: Proactive measures can mitigate noise, dust, and access issues, making the construction period easier for you and your neighbors.
- Protects Your Existing Property: Proper planning ensures your existing home, landscaping, and other structures are protected during the build.
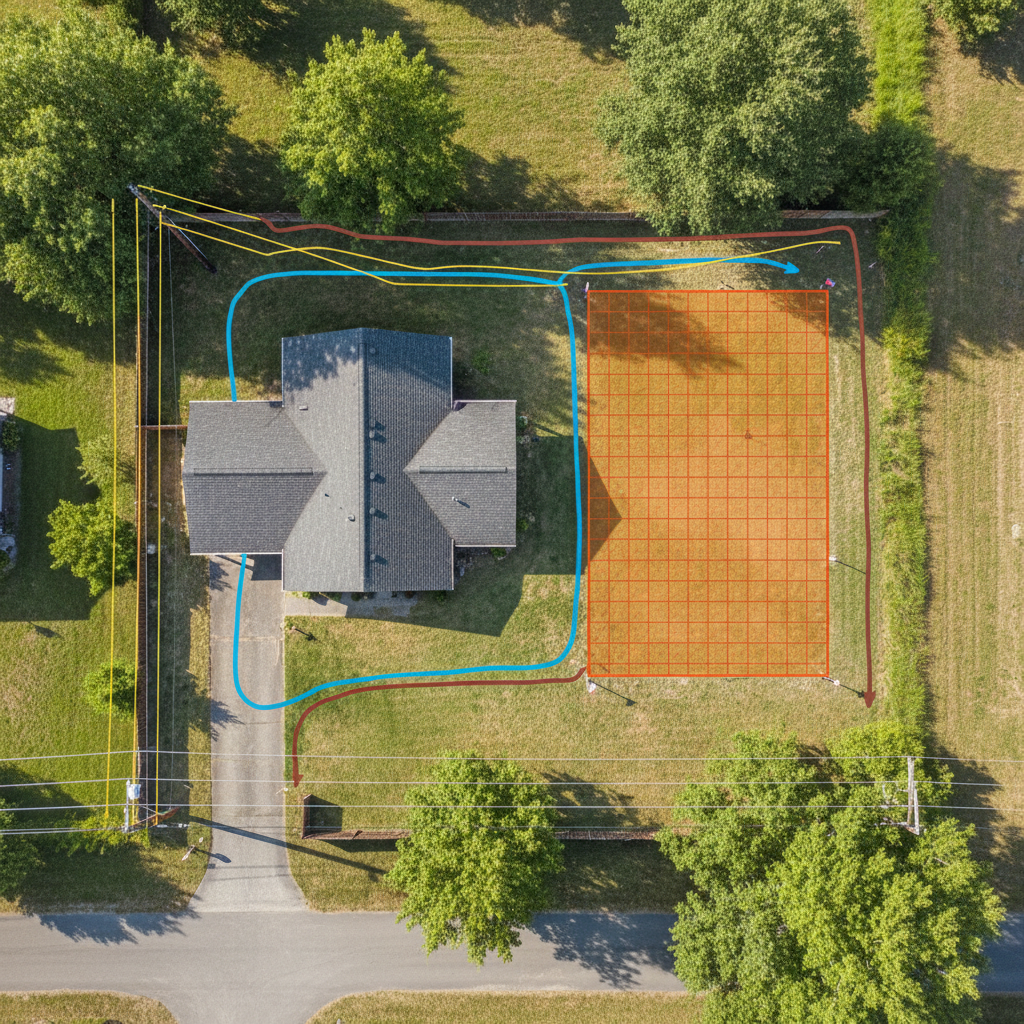
Phase 1: The Essential Planning & Assessment Stage
Before any physical work begins, a thorough understanding of your property's characteristics is vital. This stage is primarily about gathering information and making informed decisions.
1. Comprehensive Site Assessment & Feasibility Study
Even if you've already decided on an ADU, a detailed site assessment confirms the feasibility and identifies potential challenges.
- Utility Mapping: Locate all existing underground utilities – water lines, sewer pipes, gas lines, electrical conduits, and internet/cable connections. Misidentifying these can lead to serious damage and delays. You'll need to know if new connections are required or if existing ones can be extended.
- Topography and Grade: Understand your property's slope and drainage patterns. Significant slopes may require extensive grading or retaining walls, impacting costs and design. Proper drainage is crucial to prevent water damage to your ADU and existing structures.
- Soil Conditions: The type of soil on your property affects foundation design. Clay, sand, or rocky soil each present unique challenges and requirements for excavation and foundation stability. A soil test might be necessary.
- Existing Structures and Vegetation: Identify any sheds, decks, fences, mature trees, or other structures in the proposed ADU footprint. Determine what needs to be removed, relocated, or protected.
- Access Points: Evaluate how construction vehicles, equipment, and material deliveries will access the site. Are there narrow gates, steep driveways, or overhead obstructions?
2. Understanding Permits and Regulations (Your Role)
While GatherADU handles the intricate permitting process, it's beneficial for you to have a basic understanding of what's involved. This includes local zoning ordinances, setback requirements, and any specific environmental regulations that might apply to your property in California. Being informed allows for better communication with your builder and a clearer understanding of the project timeline.
3. Budgeting & Financing Considerations
Preparation isn't just physical. Ensure your financial ducks are in a row. Have a clear budget, including a contingency fund for unforeseen issues (typically 10-20% of the total project cost). If you're seeking financing, ensure pre-approval is secured. This financial readiness prevents project stalls.
Navigating the complexities of ADU planning and regulations can be daunting. To ensure your project starts on the right foot, consider leveraging expert guidance early on. Schedule a free ADU consultation with GatherADU today to discuss your site's specific challenges and opportunities.
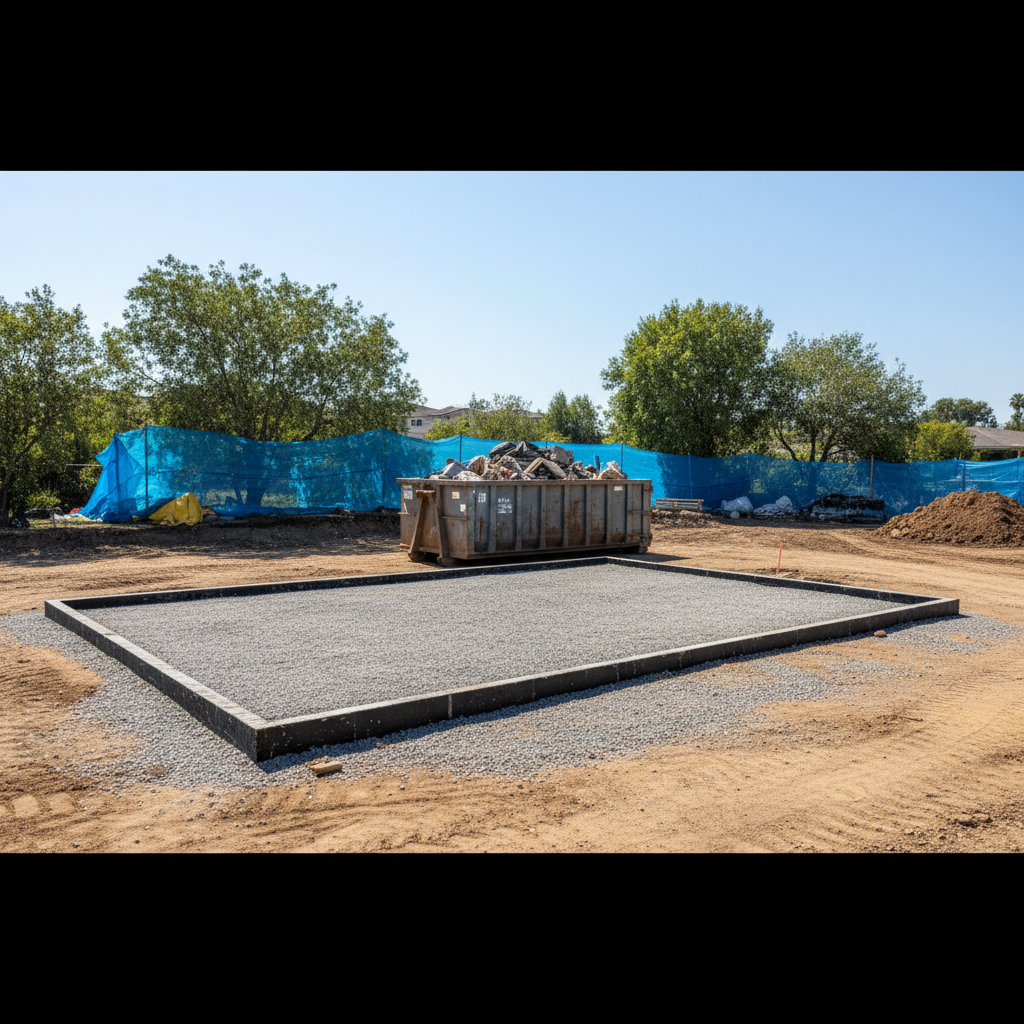
Phase 2: Physical Site Preparation – Getting Your Yard Ready
Once the planning and assessment are complete, it's time to physically prepare your property. This is where the real transformation begins.
1. Clearing the Site
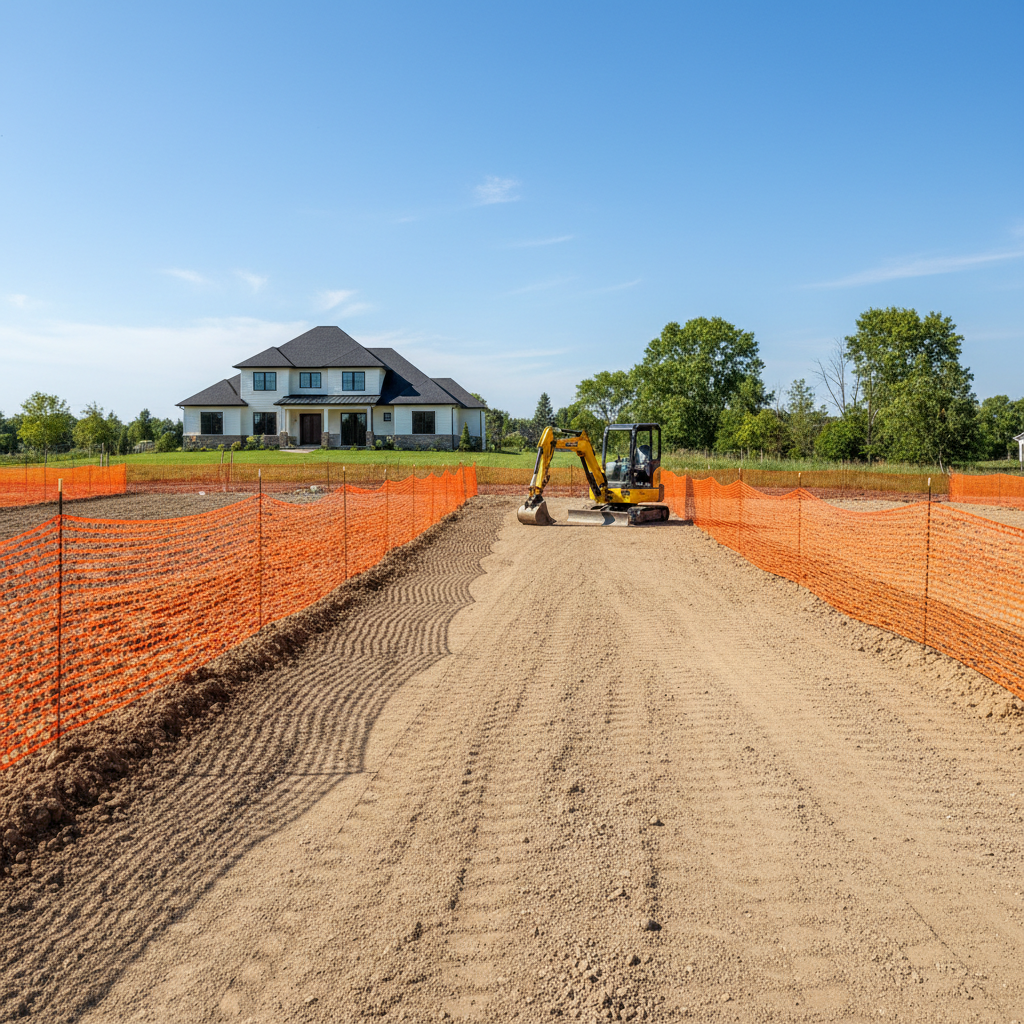
The proposed ADU footprint and surrounding work area must be clear of obstructions.
- Debris Removal: Remove any old sheds, playsets, broken concrete, or accumulated yard waste.
- Vegetation Clearing: This includes clearing bushes, shrubs, and smaller trees. For larger trees, especially those near existing structures or property lines, consult with an arborist and your builder. Tree removal often requires separate permits.
- Demolition: If an existing structure needs to be removed (e.g., an old garage), ensure it's safely demolished and all debris is properly disposed of.
2. Grading and Leveling
Proper grading is essential for establishing a stable foundation and ensuring adequate drainage away from both your new ADU and existing home.
- Foundation Pad: The area where the ADU will sit needs to be level and compacted according to engineering specifications.
- Drainage Slopes: Ensure the ground slopes away from the ADU on all sides to prevent water accumulation, which can lead to foundation issues and moisture problems.
- Erosion Control: If your property has significant slopes or is prone to erosion, discuss solutions like retaining walls or landscape modifications with your builder.
3. Utility Connections & Trenching
This is often one of the most critical and complex aspects of site preparation.
- Trenching: Excavation will be required for new utility lines (water, sewer, gas, electrical, communication) that connect the ADU to the main house or public lines. The depth and location of these trenches are strictly regulated.
- Utility Upgrades: Your existing electrical panel or water meter might need upgrading to accommodate the additional load of an ADU. This is a common requirement in California.
- Sewer/Septic Connection: Determine if your ADU will connect to the existing sewer lateral, or if a new connection to the main line is required. If you have a septic system, ensure it can handle the additional capacity or plan for upgrades.
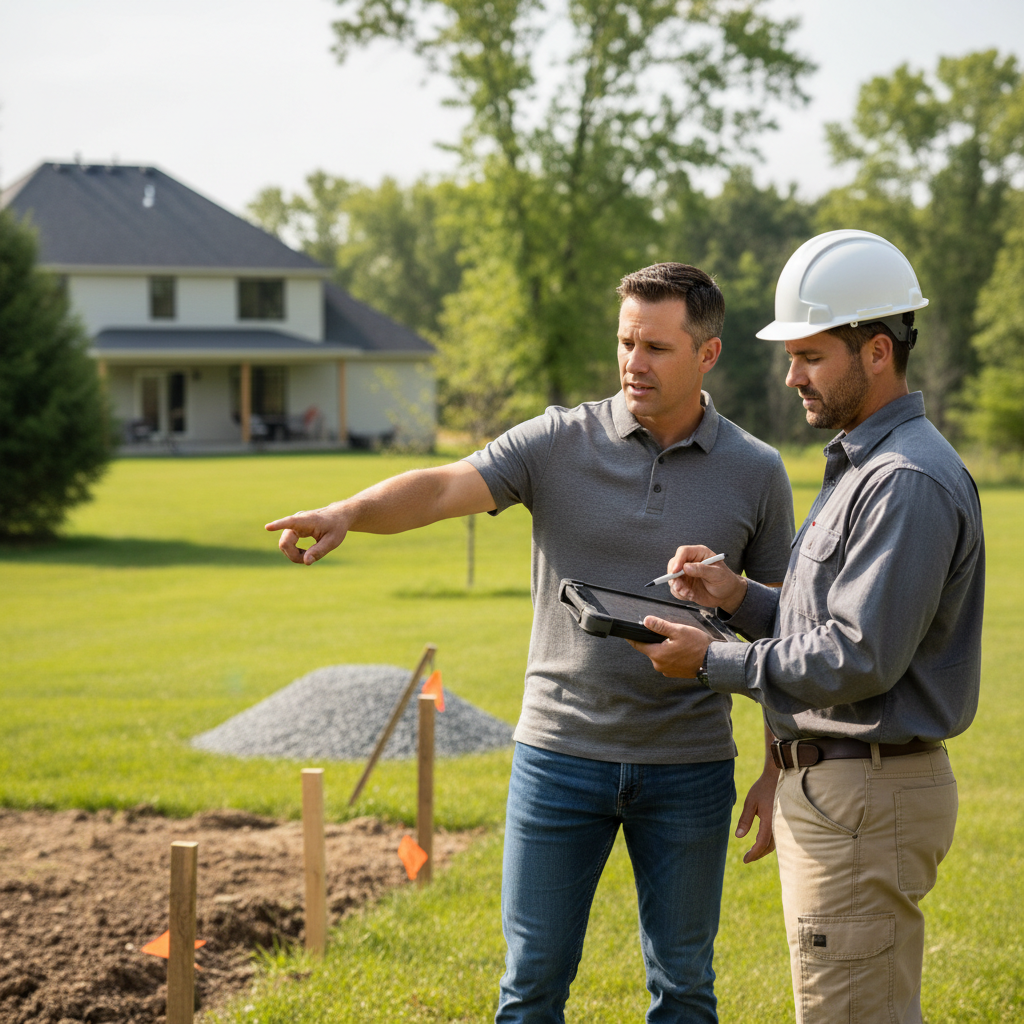
Phase 3: Protecting Your Property & Neighbors
Construction can be disruptive. Proactive measures can minimize negative impacts.
1. Protecting Existing Structures and Landscaping
- Fencing: Erect temporary fencing around areas you want to protect, such as gardens, delicate landscaping, or play areas.
- Coverings: Use tarps or plywood to protect driveways, patios, or pathways from heavy equipment traffic and material spills.
- Root Protection: For valuable trees near the construction zone, install root barriers or consult an arborist to ensure their health is not compromised.
- Securing Valuables: Move outdoor furniture, grills, and other portable items away from the construction zone.
2. Communication with Neighbors
A little courtesy goes a long way. Inform your immediate neighbors about your ADU project before construction begins. Share the anticipated timeline, potential noise, and any temporary access restrictions. Providing them with a contact person (your project manager or GatherADU's team lead) for concerns can help maintain good neighborly relations.
3. Establishing On-Site Logistics
- Material Storage: Designate a clear, accessible area for material deliveries and storage that won't impede daily life or block access.
- Waste Management: Arrange for a construction dumpster or waste removal service from day one to keep the site clean and safe.
- Temporary Facilities: Consider the need for a portable toilet for workers, as well as a designated break area.
A well-prepared site is the foundation of a successful ADU project. By taking these steps, you not only ensure a smoother construction process but also protect your investment and maintain good relations with your community. Ready to get a professional assessment of your property's ADU potential and receive a tailored plan? Get your free project estimate from GatherADU and let our experts guide you.
Conclusion
The journey to building an ADU is a rewarding one, and proper preparation is your first, most critical step. By diligently assessing your site, understanding the necessary groundwork, and protecting your existing property, you set the stage for a construction process that is efficient, cost-effective, and free from unexpected hurdles. Remember, a smoothly executed project begins long before the first nail is hammered. It starts with careful planning and meticulous preparation.
Don't leave your ADU project to chance. Partner with GatherADU, California's trusted ADU design and build experts. Our experienced team will guide you through every phase, from initial site assessment to final construction, ensuring your property is perfectly prepared for your new backyard home. Book your free ADU consultation today and take the first confident step towards your dream ADU.