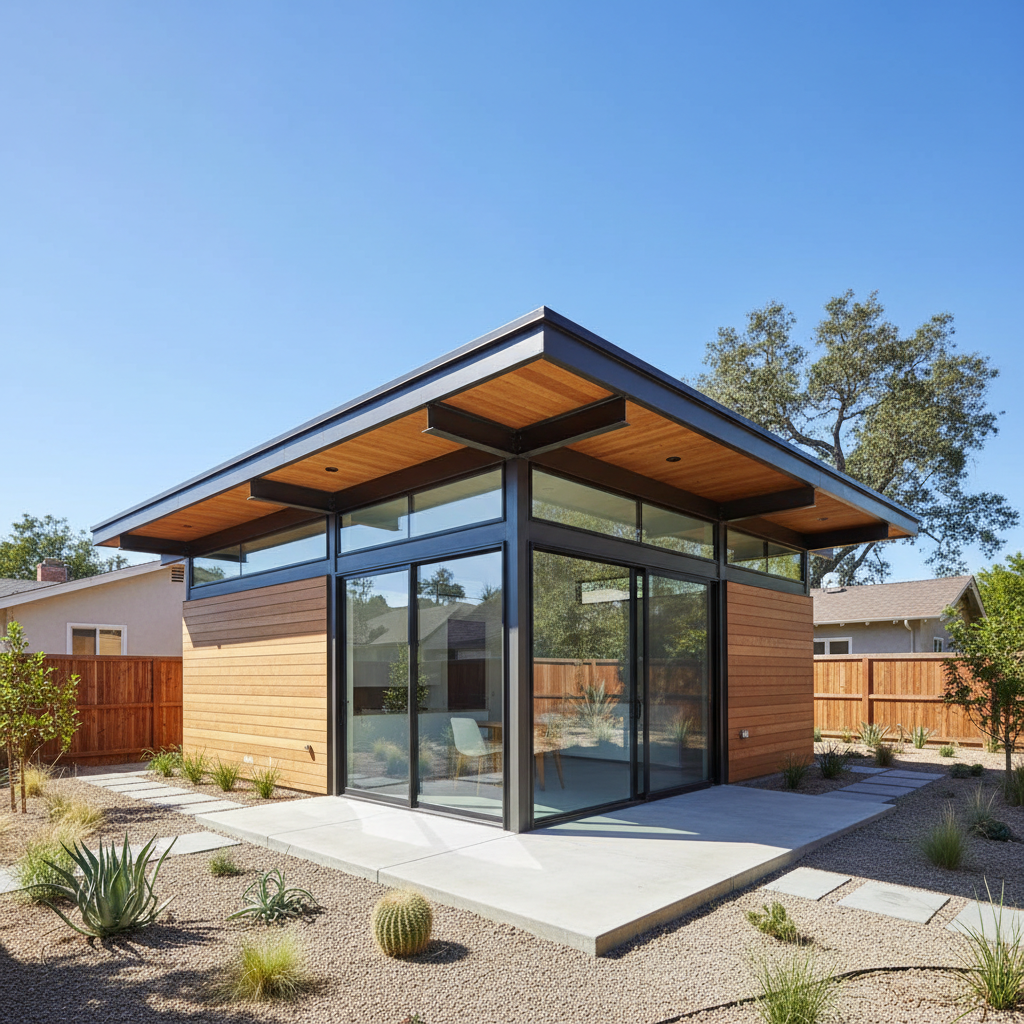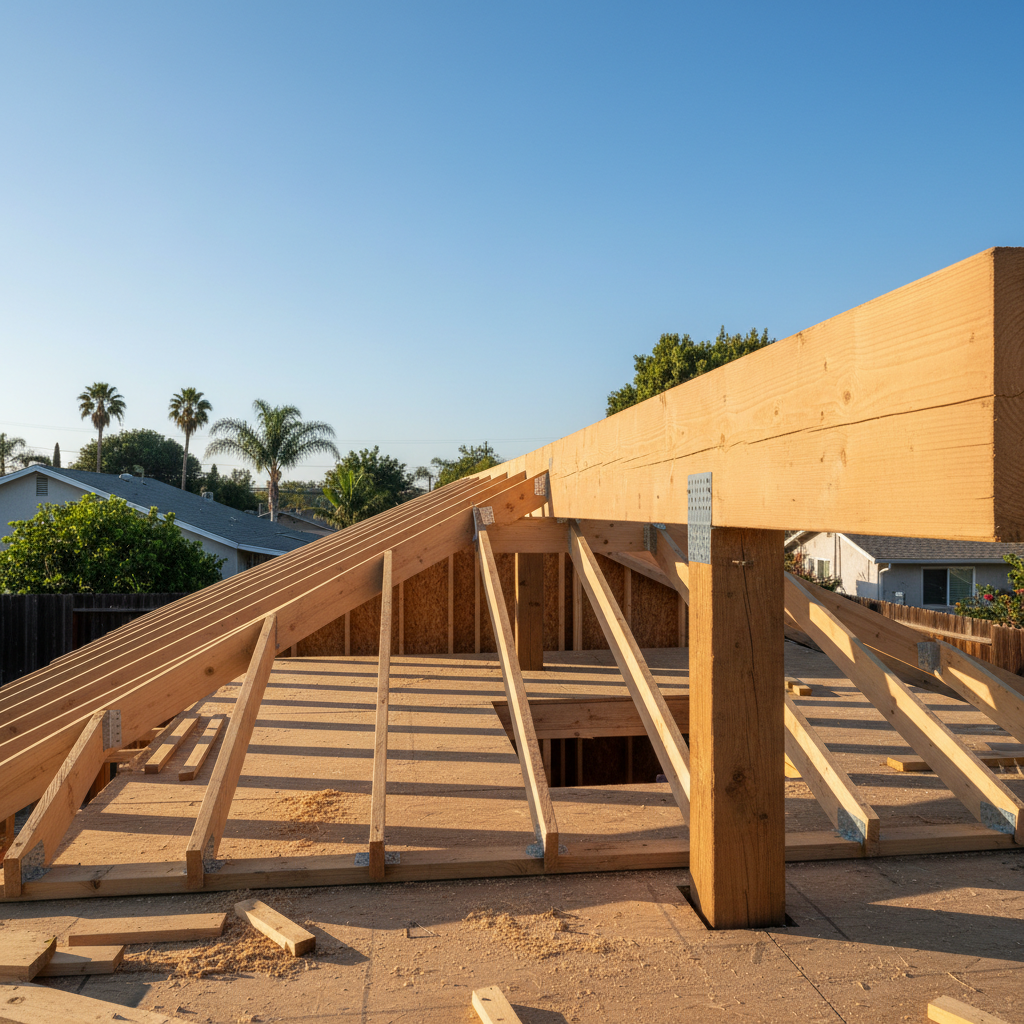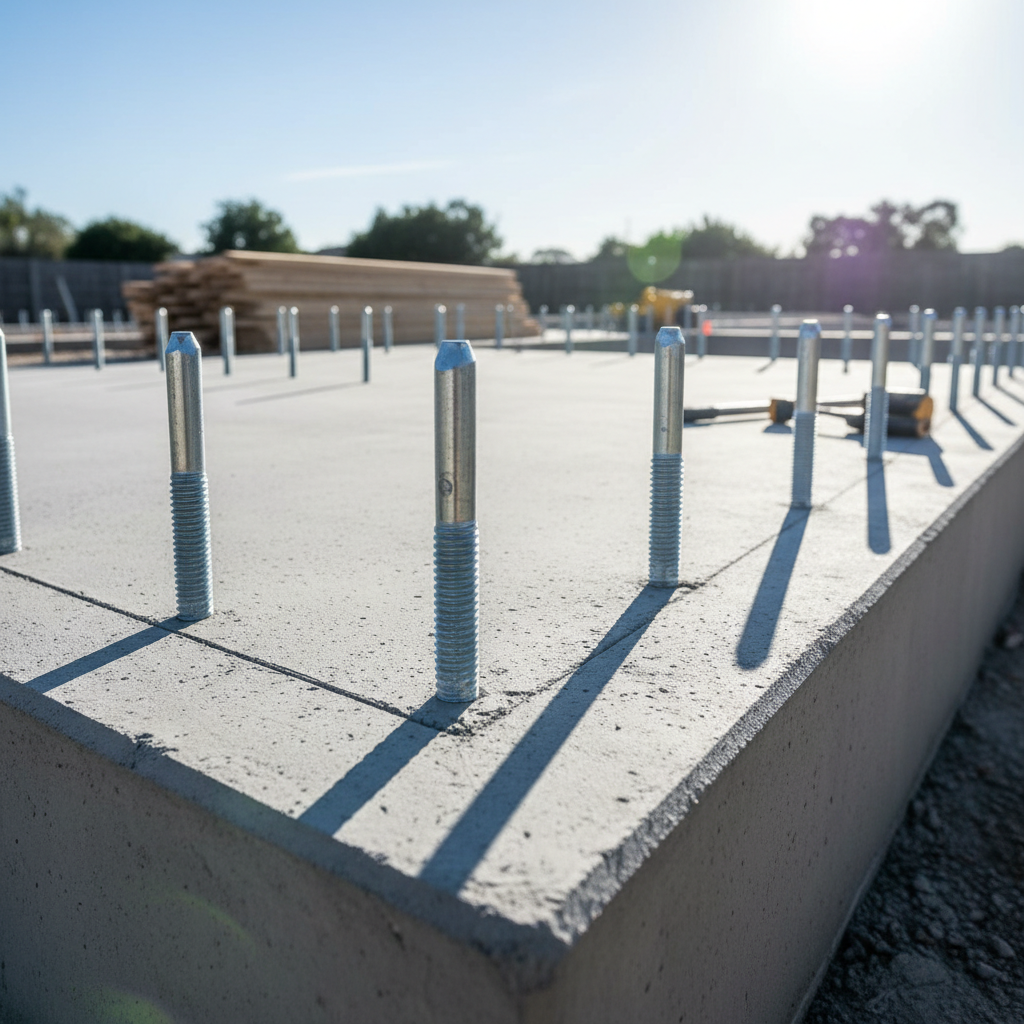

Embarking on an Accessory Dwelling Unit (ADU) project in California is an exciting venture, offering incredible potential for added income, flexible living space, or housing for loved ones. However, the journey from idea to finished structure can seem daunting. This is where ADU schematic design comes in – the often-underestimated, yet absolutely crucial, first phase that lays the groundwork for your entire project.
Many homeowners are eager to jump straight to construction, but skipping or rushing schematic design is akin to building a house without a solid foundation. It's the stage where your dreams begin to take tangible form, where ideas are translated into preliminary layouts, and where potential pitfalls are identified and resolved before they become costly problems. Understanding what ADU schematic design involves and what it delivers is key to a smooth, successful, and stress-free ADU build.
What Exactly Is ADU Schematic Design?
At its core, ADU schematic design is the initial conceptual phase of architectural design. Think of it as the brainstorming and sketching stage where the big picture of your ADU begins to emerge. It's not about detailed blueprints or material specifications yet; rather, it's about exploring possibilities, defining the overall form, function, and relationship of your new structure to your existing property.
During this stage, architects and designers work closely with you to understand your vision, needs, and budget. They then use this information to create preliminary drawings and diagrams that illustrate the basic layout, size, and appearance of your future ADU. This phase is highly collaborative and iterative, meaning there's plenty of back-and-forth to ensure the design truly reflects your goals.
Key Elements You'll See in an ADU Schematic Design
While the deliverables can vary, a typical ADU schematic design package will include:
- Site Analysis: A thorough review of your property, including existing structures, topography, setbacks, utility access points, and important contextual elements like views, sun path, and privacy concerns. This ensures the ADU is optimally placed and integrated.
- Bubble Diagrams/Block Plans: These are very loose, conceptual drawings that explore the spatial relationships between different areas within the ADU (e.g., living room to kitchen, bedroom to bathroom) and how the ADU connects to the main house and yard.
- Preliminary Floor Plans: Basic drawings showing the general layout of rooms, approximate dimensions, and initial ideas for door and window placements. These aren't precise construction drawings but give a clear sense of flow and functionality.
- Basic Elevations and Sections: Simple exterior views of the ADU from different sides, showing its overall height, roofline, and general architectural style. Sections might illustrate how different levels relate vertically.
- Massing Studies: Exploring the overall volume and shape of the ADU, often through simple 3D sketches or models, to understand its impact on the site and visual appeal.
- Initial Feasibility Assessment: An early check against local zoning regulations, setback requirements, and potential construction challenges. This helps identify any red flags early on.
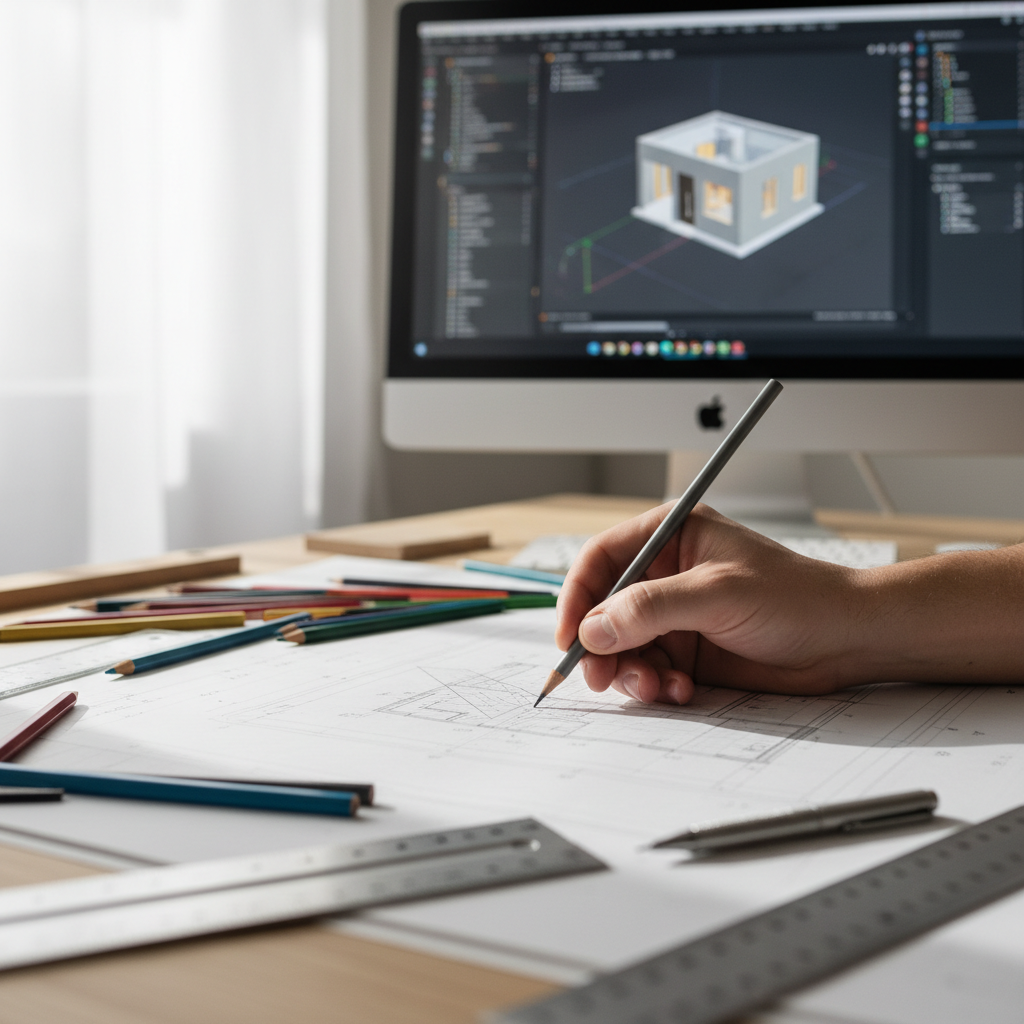
Why Schematic Design is the Most Crucial Stage for Your ADU Project
Investing time and effort in a robust ADU schematic design is arguably the best decision you can make for your project's success. Here’s why:
1. Foundation for All Future Decisions
Every subsequent stage of your ADU project—from detailed design and engineering to permitting and construction—will build directly upon the schematic design. A clear and well-considered schematic design acts as your project's North Star, guiding all decisions and ensuring consistency.
2. Cost Control and Budget Alignment
The schematic design phase is your greatest opportunity to align your vision with your budget. Major cost drivers, such as the ADU's size, complexity, and structural requirements, are identified and addressed here. Making changes at this conceptual stage is inexpensive; altering detailed construction drawings or, worse, making changes during construction, can lead to significant delays and budget overruns.
Ready to explore the potential of an ADU on your property and get a clearer picture of the investment? Get your free project estimate with GatherADU today.
3. Ensuring Zoning and Code Compliance
California ADU regulations can be intricate and vary by jurisdiction. Schematic design allows experts to perform an early assessment of your proposed ADU against local zoning ordinances, setback requirements, height restrictions, and other critical codes. Addressing compliance issues early prevents costly redesigns or even project rejection later in the permitting process.
4. Visualizing Your Vision
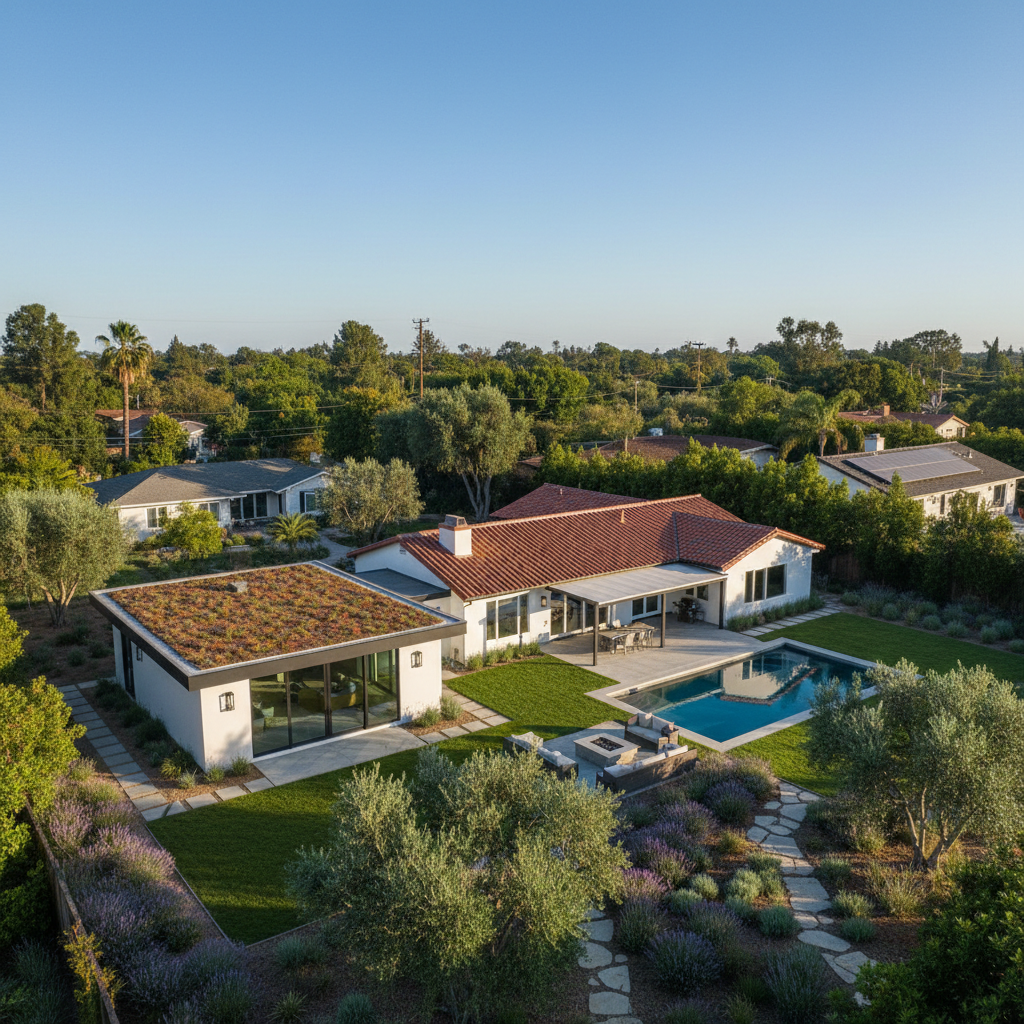
It's one thing to describe your ideal ADU; it's another to see it take shape visually. Schematic drawings and potential 3D renderings help you truly understand the scale, layout, and aesthetic of your future backyard home. This visualization empowers you to make informed decisions and ensures the final product will meet your expectations.
5. Optimizing Functionality and Flow
Whether your ADU is for rental income, an aging parent, a home office, or a personal retreat, its functionality is paramount. During schematic design, you can fine-tune the layout to ensure optimal flow, natural light, privacy, and utility. This iterative process allows for experimentation with different configurations until you achieve the perfect balance of form and function.
6. Minimizing Changes Down the Line
The earlier a problem or desired change is identified, the cheaper and easier it is to fix. Schematic design is the last stage where fundamental changes can be made without significant financial or time penalties. It acts as a critical risk mitigation tool for your entire project.
The GatherADU Schematic Design Process: Your Journey to a Perfect Backyard Home
At GatherADU, we believe in a collaborative and transparent ADU schematic design process that puts your needs first. Our approach typically includes:
- Initial Consultation: We start by listening. We discuss your goals, budget, site specifics, and any ideas you have. This helps us understand your unique vision.
- Site Visit & Data Collection: Our team visits your property to gather crucial information—measurements, photographs, existing utility locations, and an assessment of the site's unique characteristics. We also review local zoning ordinances relevant to your property.
- Concept Generation: Based on our findings and your input, our experienced designers develop several preliminary design concepts. These might explore different layouts, orientations, or architectural styles, all tailored to your site and objectives.
- Review & Feedback Sessions: We present these concepts to you, explaining the rationale behind each. This is an open forum for discussion, where you provide feedback, ask questions, and express your preferences. We encourage honesty and thoroughness at this stage.
- Refinement & Selection: We take your feedback and refine the chosen concept, incorporating your revisions until we arrive at a schematic design that perfectly captures your vision and meets all requirements.
- Deliverables: You'll receive a clear package including preliminary floor plans, elevations, and sometimes 3D renderings, giving you a comprehensive visual and functional understanding of your future ADU.

What Homeowners Get From a Well-Executed ADU Schematic Design
Beyond the technical drawings and assessments, a successful ADU schematic design provides invaluable benefits to you as a homeowner:
- Clarity and Confidence: You'll have a clear, tangible understanding of what your ADU will look like, how it will function, and how it integrates with your property. This clarity builds confidence in moving forward.
- A Solid Roadmap: The schematic design serves as the foundational document for all subsequent phases, ensuring continuity and consistency throughout the project.
- Budgetary Insights: With a clear design, you'll have a much more accurate understanding of projected costs, allowing for better financial planning.
- Peace of Mind: Knowing that potential issues have been addressed early, that your design is compliant, and that your vision is captured provides significant peace of mind.
- Empowerment: You are an active participant in shaping your future ADU, making informed decisions that reflect your unique needs and desires.
Don't leave the critical initial stages of your ADU to chance. Start your ADU journey with confidence by partnering with design experts.
Beyond Schematic Design: The Next Steps
Once your ADU schematic design is finalized and approved, the project transitions into the Design Development phase, where details like specific materials, finishes, and structural components are selected. This is followed by the Construction Documents phase, which produces the detailed blueprints necessary for permitting and construction.
The beauty of a well-executed schematic design is that it makes these subsequent phases much smoother and more efficient. It ensures that the core decisions are made, reducing the likelihood of major revisions and keeping your project on track and on budget.
Conclusion
ADU schematic design is not just a preliminary step; it is the strategic cornerstone of any successful Accessory Dwelling Unit project. It's where your vision meets reality, where functionality is optimized, and where potential problems are averted. By investing in this critical phase, you lay a solid foundation for a beautiful, functional, and compliant backyard home that enhances your property and your lifestyle for years to come.
Ready to take the first step towards your dream backyard home? Book a free ADU consultation with GatherADU today. Our experts are ready to transform your vision into a buildable schematic design.