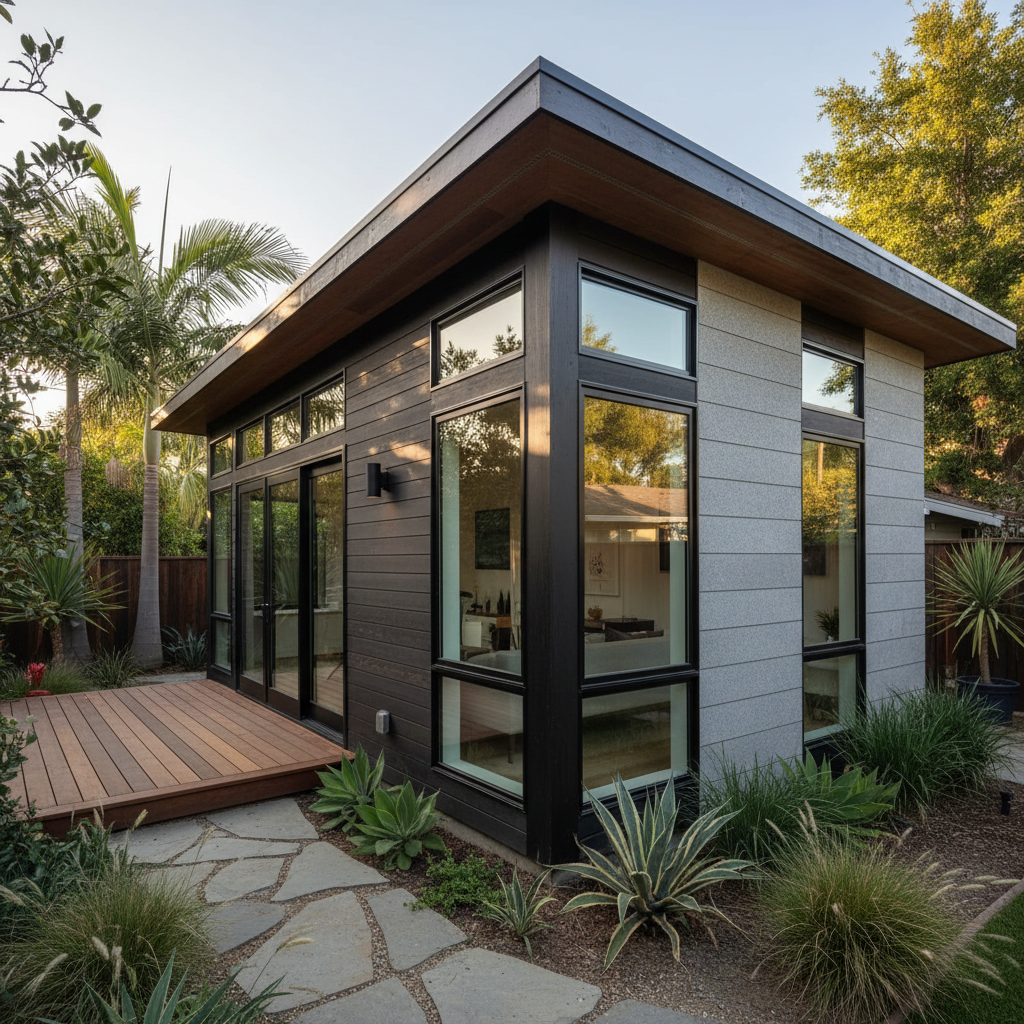
When planning or building an Accessory Dwelling Unit (ADU) in California, many aspects capture your attention: design, layout, permits, and finishes. Yet, one of the most critical elements, often unseen and unsung, is ADU flashing. This seemingly minor detail plays an enormous role in the longevity, structural integrity, and overall health of your backyard home. Without proper flashing, even the most beautifully designed ADU can fall victim to the insidious damage caused by water.
This comprehensive guide will demystify flashing in ADU construction. We'll explore what it is, why it's absolutely non-negotiable for any ADU, the types of materials used, and most importantly, every crucial location where it must be meticulously installed to protect your investment for decades to come.
What Exactly Is Flashing? The Unsung Hero of Weatherproofing
At its core, flashing is a thin, impermeable material installed at vulnerable junctions and penetrations in a building's exterior. Its primary purpose is to divert water away from these susceptible areas, preventing it from seeping into the wall cavities, roof, or foundation.
Think of flashing as the specialized rain gear for your ADU's most exposed parts. Just as a good rain jacket has sealed seams and overlaps to keep you dry, flashing creates a protective, shingle-like layer that sheds water harmlessly away from the structure. It's a critical line of defense against rain, snow, condensation, and even wind-driven moisture.
Why Flashing is Non-Negotiable for Your California ADU
California's climate is famously diverse, from coastal fog and heavy winter rains to arid inland heat. While some regions might experience less rainfall, moisture is still a constant threat in the form of dew, condensation, and occasional downpours. Here’s why proper ADU flashing is paramount:
- Prevents Water Intrusion: This is the most obvious reason. Flashing actively redirects water that would otherwise find its way into your ADU's interior.
- Protects Against Mold and Mildew: Trapped moisture creates the perfect breeding ground for mold and mildew, which can cause significant structural damage, unpleasant odors, and serious health problems for occupants.
- Safeguards Structural Integrity: Water penetration can lead to wood rot, compromising the structural elements of your ADU like studs, sheathing, and framing. This can lead to costly repairs and even structural failure.
- Enhances Energy Efficiency: Water-damaged insulation loses its effectiveness, leading to higher heating and cooling costs. Flashing helps maintain the integrity of your building envelope.
- Meets Building Codes: Proper flashing installation is mandated by California building codes (like the California Residential Code), ensuring minimum standards for weather resistance and durability. Failing to comply can lead to inspection failures and costly rework.
- Preserves Property Value: A well-protected ADU free from water damage maintains its value and appeal over time, making it a sound investment.
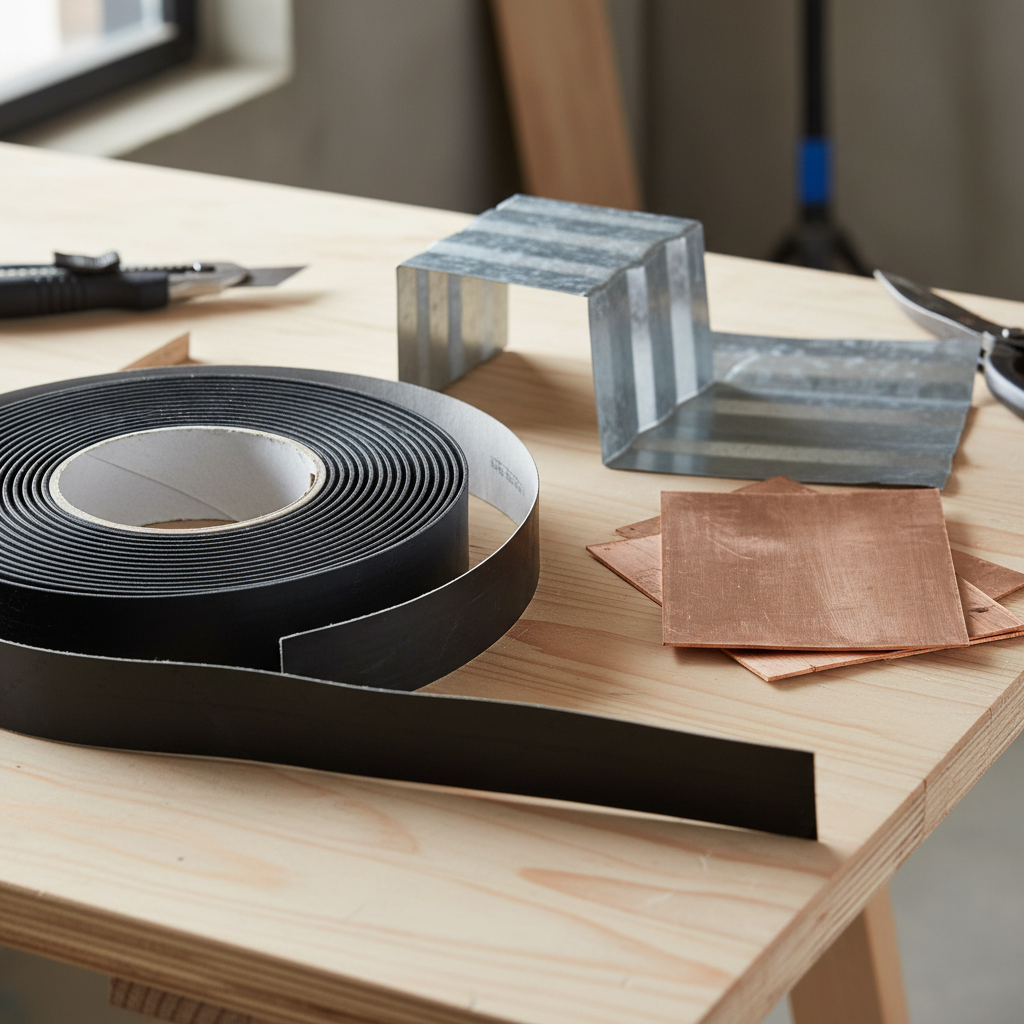
Common Materials Used for ADU Flashing
The choice of flashing material depends on the specific application, aesthetic requirements, and budget. Here are the most common types:
-
Metal Flashing:
- Galvanized Steel: Durable and cost-effective, commonly used for roof edges, valleys, and wall-to-roof transitions.
- Aluminum: Lightweight, corrosion-resistant, and easily formable. Often used around windows and doors, but should not be in direct contact with treated lumber or certain other metals to avoid galvanic corrosion.
- Copper: Highly durable, extremely long-lasting, and develops a distinctive patina over time. Often chosen for high-end projects or historic renovations due to its aesthetic appeal and superior performance.
- Stainless Steel: Offers excellent corrosion resistance and strength, suitable for harsh environments or when extreme durability is required.
-
Flexible Flashing Membranes:
- Self-Adhered Membranes (Peel-and-Stick): These rubberized asphalt or butyl-based sheets have an adhesive backing, making them excellent for sealing around windows, doors, and other penetrations. They conform well to irregular shapes and provide a continuous air and water barrier.
- Fluid-Applied Flashing: A liquid membrane that cures to form a seamless, waterproof barrier. Ideal for complex shapes and detailing.
- Plastic/Vinyl Flashing: Less common for primary structural flashing, but can be found in some window and door systems or for specific non-load-bearing applications.
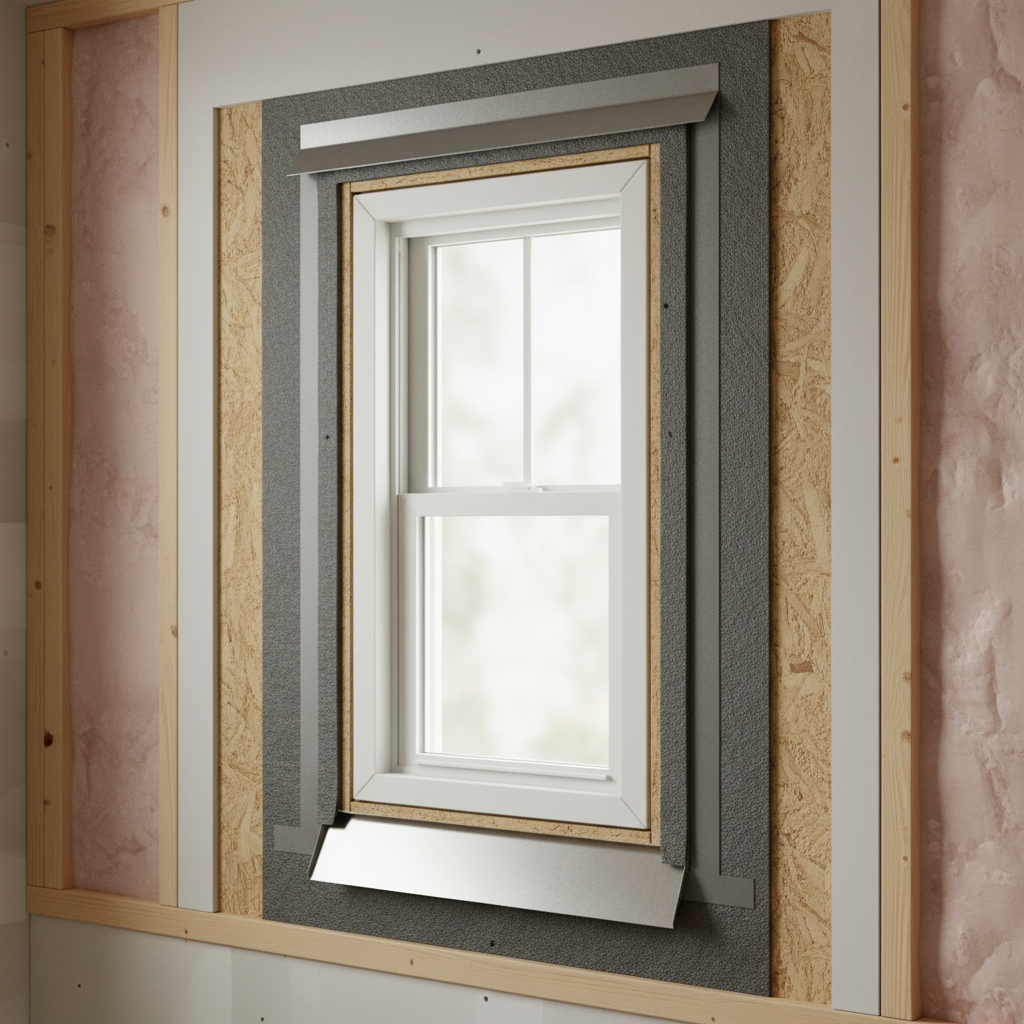
Key Locations Where Flashing Must Be Installed in Your ADU
Understanding where flashing is installed is crucial to appreciating its role. Here are the critical zones:
1. Roof-to-Wall Intersections
One of the most vulnerable areas where a wall meets a sloped roof. Proper flashing here prevents water from running down the wall and behind the roofing material.
- Step Flashing: L-shaped pieces woven in with each shingle course, extending up the wall.
- Counter Flashing: A separate piece installed into the wall (e.g., into a mortar joint in masonry or integrated with siding) that overlaps the step flashing, directing water outwards.
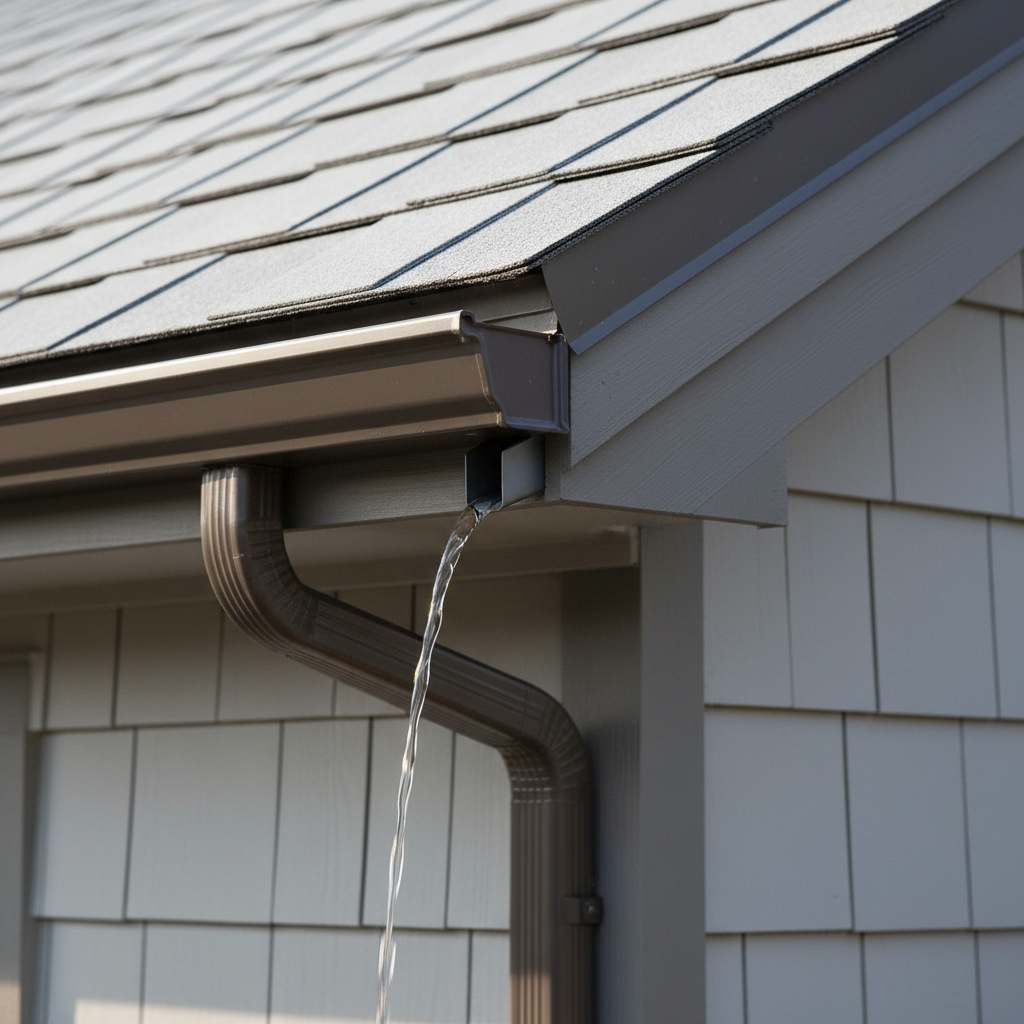
- Kick-Out Flashing: A critical piece installed at the very bottom of a roof-to-wall intersection where the roof ends. It diverts water away from the wall and into the gutter, preventing concentrated water flow down the wall corner, which is a common source of rot.
2. Roof Penetrations
Any element breaking the roof plane creates an entry point for water.
- Vent Pipes: Metal or plastic boots with a flashing flange are installed around plumbing vents.
- Chimneys: Requires a complex system of base flashing, step flashing, and counter flashing to seal all sides effectively.
- Skylights: Integrated flashing kits are typically supplied by the skylight manufacturer, crucial for a watertight seal around the unit.
- Solar Mounts: Specialized flashing is used to seal roof penetrations made by solar panel racking systems.
3. Window and Door Openings
These are prime locations for water intrusion if not properly flashed, as they are openings in the building envelope.
- Sill Pan Flashing: Installed on the rough sill of the opening, sloping outwards to drain any water that gets past the window or door frame. This is often a flexible membrane or a pre-formed pan.
- Jamb Flashing: Applied up the sides (jambs) of the opening, typically flexible membrane, integrated with the weather-resistive barrier (WRB).
- Head Flashing: Installed over the top (head) of the window or door, extending beyond the sides to shed water over the side flashing and away from the opening. Often metal, integrated under the siding.
For expert guidance on how these critical details integrate into your ADU's overall design and construction, consider reaching out to professionals. Schedule a free consultation with GatherADU to discuss your project's specific needs.
4. Foundation-to-Wall Transitions
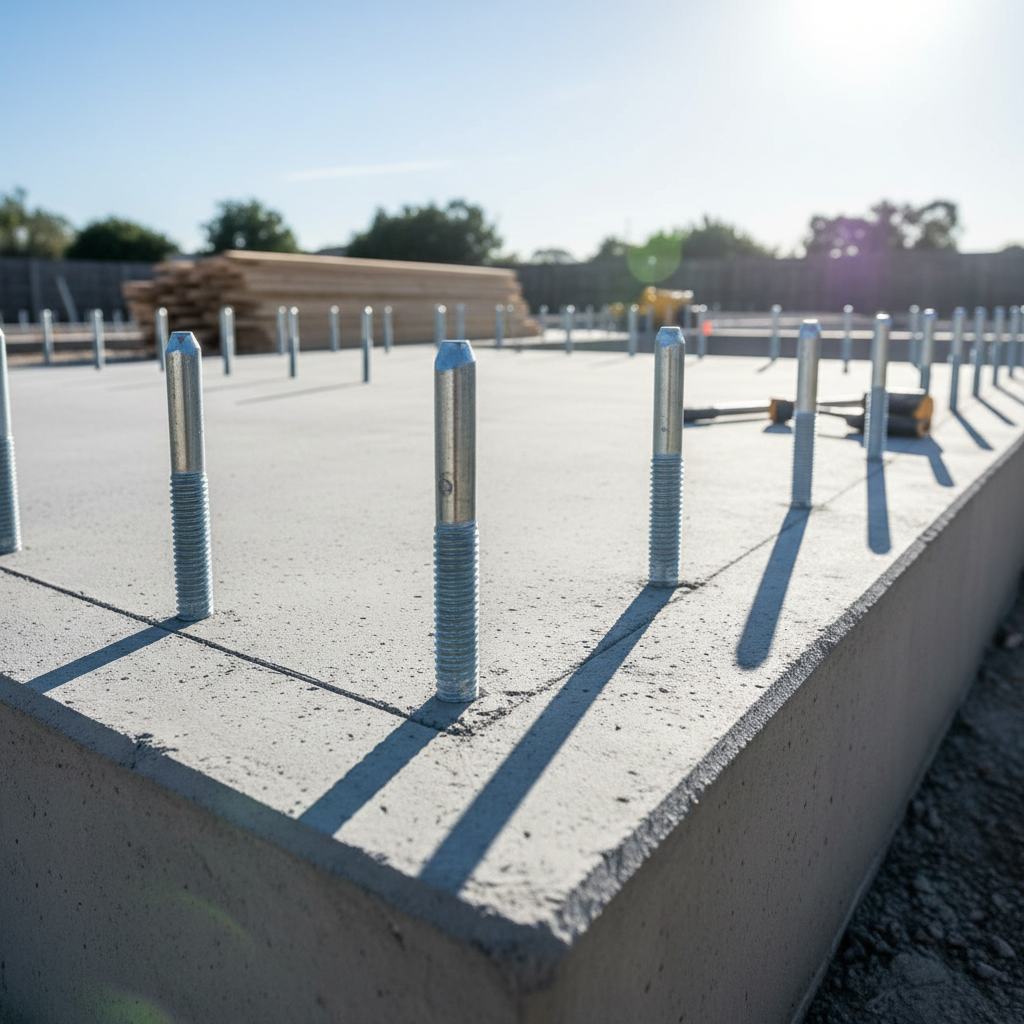
The joint where the wood framing meets the concrete foundation is susceptible to moisture wicking up from the ground.
- Sill Gasket/Sealant: While not strictly flashing, a sill gasket or foam sealant under the treated sill plate helps create an air and moisture barrier.
- Termite Shields: Metal flashing installed between the foundation and the sill plate, extending outwards to deter termites, also acts as a moisture barrier.
5. Decks and Balconies
Where a deck or balcony ledger board attaches to the ADU wall, flashing is essential.
- Ledger Board Flashing: Installed over the top of the ledger board and behind the siding, sloped outwards to prevent water from penetrating the wall at this critical connection point.
6. Exterior Wall Penetrations
Any item that passes through the exterior wall needs proper sealing.
- Faucets, Hose Bibs: Flashing collars or sealants around the pipe penetration.
- Electrical Boxes/Outlets: Weather-resistant covers and sealants.
- Dryer Vents, Exhaust Fans: Flashed vents designed to shed water.
7. Corners and Changes in Plane
Where different materials meet or the wall changes direction, special flashing or detailing is required.
- Weep Screeds: At the bottom of stucco walls, a metal flashing that allows moisture to drain out from behind the stucco while preventing water from entering.
- Corner Flashing: Used at outside corners, particularly with certain siding types, to ensure a continuous water-resistive barrier.
The Consequences of Poorly Installed or Missing Flashing
The cost of proper ADU flashing is a tiny fraction of the overall construction budget, but the cost of neglecting it can be astronomical. Poorly installed or missing flashing can lead to:
- Extensive Water Damage: Rotting wood, damaged drywall, compromised insulation.
- Mold and Mildew Growth: Health hazards, unpleasant odors, and expensive remediation.
- Structural Failure: Weakened framing can lead to sagging, instability, and even collapse in extreme cases.
- Pest Infestations: Water-damaged wood attracts termites and other pests.
- Diminished Property Value: Visible signs of water damage significantly reduce a property's appeal and market value.
- Costly Repairs: Repairing water damage often involves removing and replacing exterior finishes, interior walls, insulation, and structural components.
Ensuring your ADU is built right from the ground up, including meticulous flashing, is an investment in its future. If you're wondering about the specifics for your ADU project, a professional ADU builder can provide invaluable insights. Get your free project estimate from GatherADU today.
Ensuring Proper Flashing Installation for Your ADU
Given the critical role of flashing, its installation is not a DIY task for the inexperienced. It requires:
- Expertise: Knowledge of building science, water flow dynamics, and specific material requirements.
- Adherence to Codes: Understanding and implementing local building codes and manufacturer specifications.
- Quality Materials: Using the right type and grade of flashing for each application.
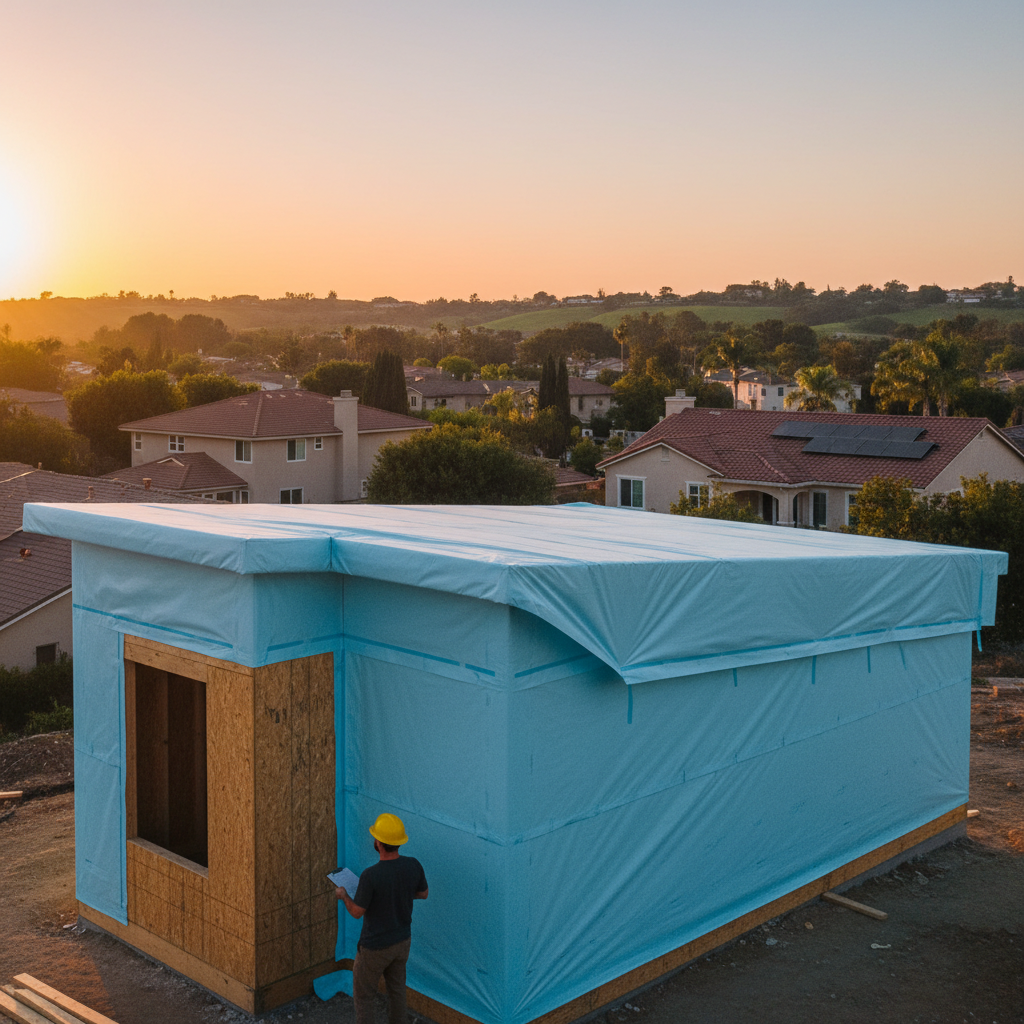
- Integrated System Approach: Flashing must work in conjunction with the weather-resistive barrier (WRB), siding, windows, and roofing to form a continuous, robust water-shedding system.
- Attention to Detail: Every overlap, every seal, and every connection must be precisely executed.
Conclusion
ADU flashing might be out of sight and out of mind once construction is complete, but its diligent installation is one of the most important factors determining the long-term durability and performance of your Accessory Dwelling Unit. It's the silent guardian against the elements, preventing costly damage and ensuring your backyard home remains a healthy, comfortable, and valuable asset for decades.
At GatherADU, we understand that true quality lies in the details. Our expert team prioritizes robust building practices, including meticulous flashing installation, to ensure your California ADU is built to last. Don't leave the integrity of your investment to chance. Book a free ADU consultation with GatherADU today to discuss your project and discover how our commitment to quality protects your home.